If your Windows 10 computer starts to run slow or crash frequently, an easy solution is to simply reset your PC to factory default that will quite often solve the issue. This tutorial will walk you through all the steps necessary to perform a factory reset of Windows 10 from the Settings app.
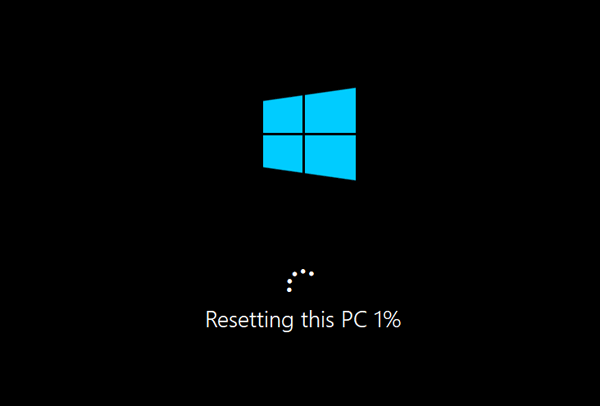
How to Factory Reset Windows 10 from Settings App
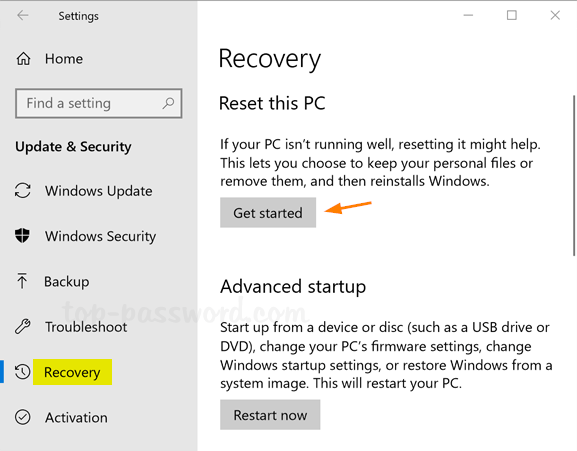
Press the Windows + I keys to launch the Settings app, then click Update & Security.

In the left pane, select the Recovery tab. In the right pane, click Get started under the “Reset this PC” heading.
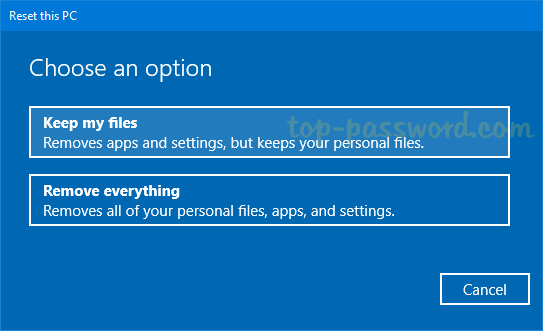
You’ll see a blue dialog box that gives you two choices:
- Keep my files – This option will remove all apps and settings but keep your personal files intact.
- Remove everything – This option will format / erase your hard drive so you’ll lose all files and apps.
Keep My Files
If you’ve chosen the “Keep my files” option, it will not only remove all your apps installed from Windows Store, but also uninstall the programs shown on the screen. Click Next to confirm.
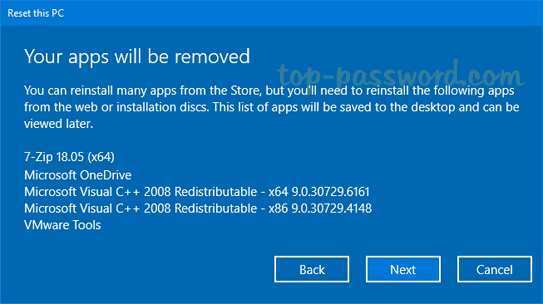
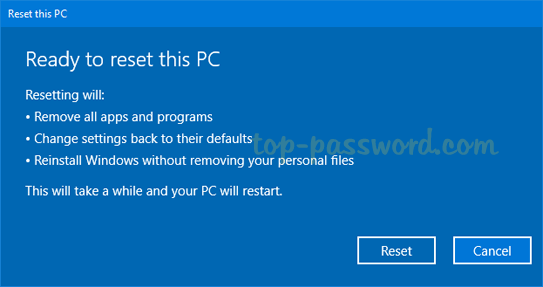
The final step is to click on Reset. Your PC will then reboot automatically and begin the factory reset process.
Remove Everything
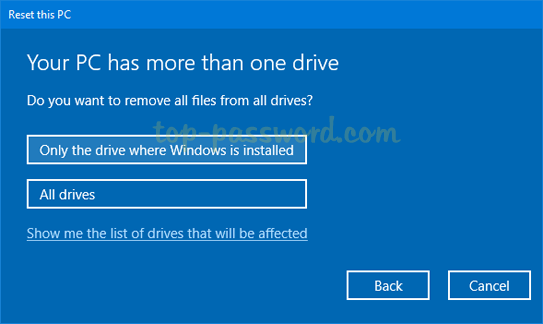
If you’ve chosen the “Remove everything” option, the next screen will let you choose to remove everything from the drive where Windows is installed, or all drives connected to your PC.
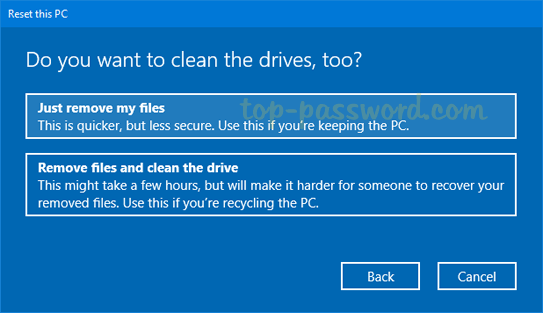
After choosing the drive, you will be asked to “Just remove my files” or “Remove files and clean the drive“. The second option will securely erase your drives and make your files unrecoverable, and it’s a good option if you plan to sell or give away your PC. If you keep the computer, choose the first option for speed.
This is your last chance before your computer is wiped. Click on Reset and Windows will then restart and begin the factory reset process immediately.

That’s it!