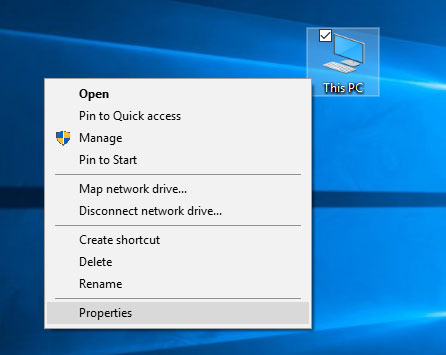
In Windows 10, the right-click context menu will open to the left side of the cursor as default. If you’re accustomed to seeing the context menu on the right side, you can tweak this behavior easily. This tutorial shows you 2 simple ways to make Windows 10 display right-click context menu on the right side instead of the left side.
Method 1: Make Windows 10 Open Context Menu to The Right in Tablet PC Settings
- Press the Windows key + R to open the Run box. Type the following command and press Enter.
shell:::{80F3F1D5-FECA-45F3-BC32-752C152E456E}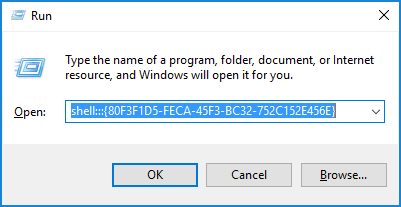
- When the Tablet PC Settings dialog opens, click Other tab. Check the Left-handed option and click OK.
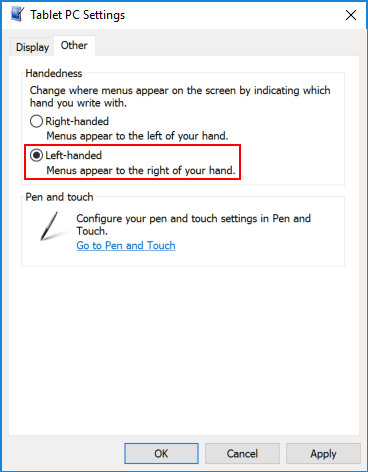
- Sign out of your account or restart your computer. Windows 10 will open the right-click context menu to the right side of your cursor.
Method 2: Make Windows 10 Open Context Menu to The Right Using Registry Editor
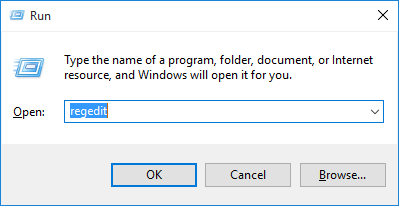
- Press the Windows key + R to open the Run box. Type regedit and press Enter.
- In the left pane of Registry Editor, navigate to the following key:
HKEY_CURRENT_USER\Software\Microsoft\Windows NT\CurrentVersion\Windows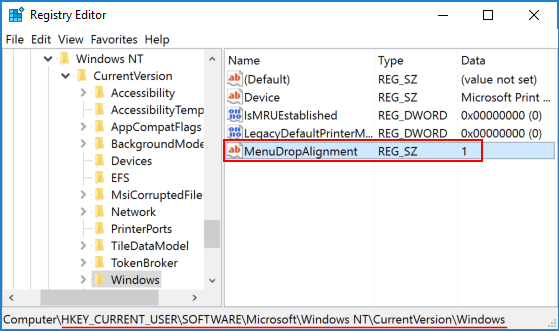
You should see a value named MenuDropAlignment in the right pane (If it doesn’t exist, create a new string value named MenuDropAlignment). Double-click on it to modify.
- In order to make context menu open to the right side, type 0 in the Value data field and click OK.
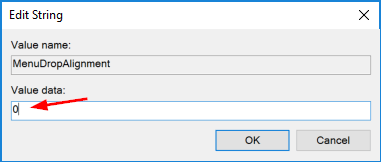
If you want Windows to show context menu to the left side, just set MenuDropAlignment back to 1.
- After you edit the value, you need to sign out and sign in back to your Windows account or restart your computer. Windows should place the context menu on the right side.