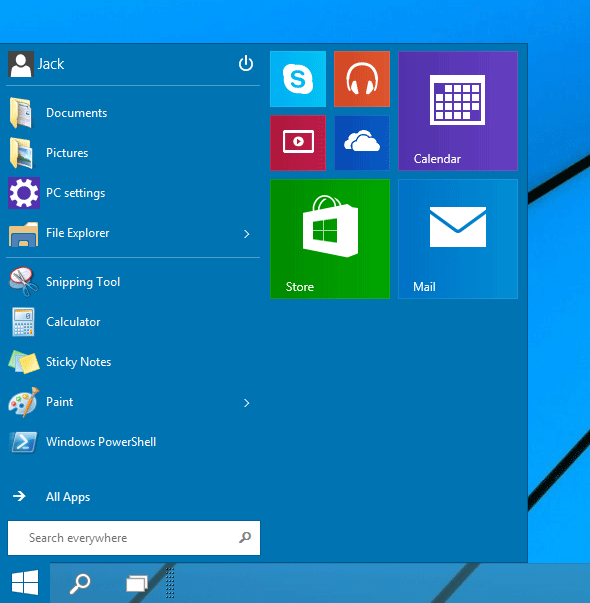
Windows 10 is basically a combination of Windows 7 and 8 that borrows design elements from each of Microsoft’s two most recent operating systems. If you’re running Windows 10, you may have noticed that the Start Menu is back but it isn’t just the old menu that we have seen in Windows 7 and Vista. The left-hand side of it looks like the Windows 7 Start Menu, with a search bar, links to Documents, Pictures, individual apps, and so on. The right side has all the live tiles and Metro apps. Here’s quick guide to customize it to work the way you want.
Remove Live Tiles
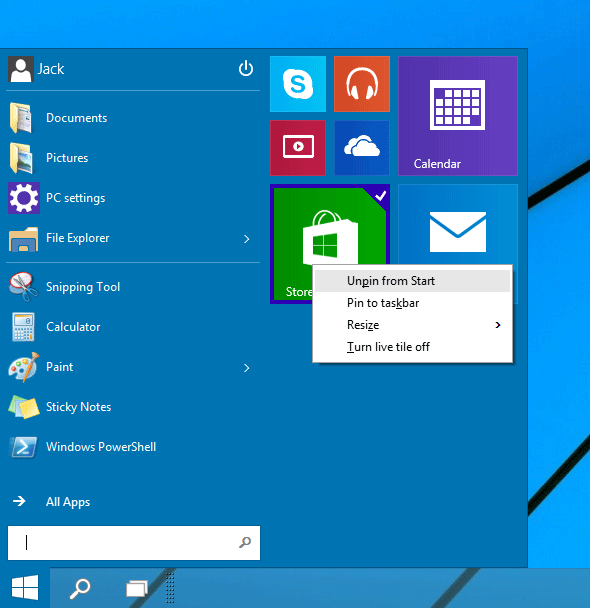
Windows 10 Start Menu gets crowded with too many live tiles. If you want to make the Start Menu look more like Windows 7 Start Menu, you can remove all live tiles from it. To remove a live tile, simply right-click on the tile and choose Unpin from Start.
Resize Start Menu
Want to make the Start Menu larger or smaller? It’s simple to do. Move your mouse to the top of the menu until the mouse pointer turns into a double-headed arrow. Then drag it in the direction where you want it to grow or shrink. If you just want to resize a live tile, right-click on it and select Resize and then pick a size.
Customize Start Menu
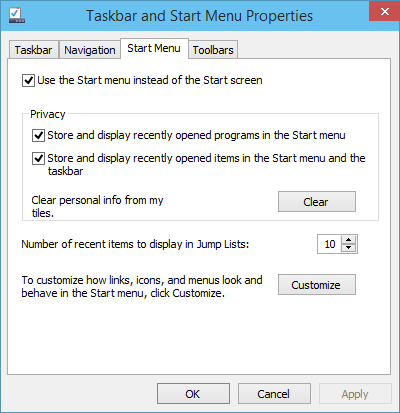
There is a new and dedicated customization menu for the Start menu. To access it, right-click on an empty area of Start Menu and select Properties.
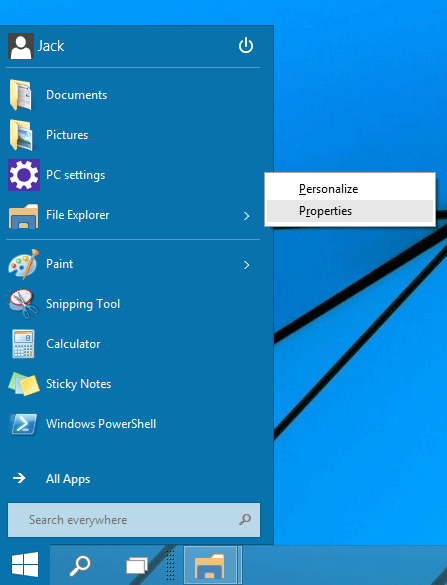
In the Taskbar and Start Menu Properties dialog box, select the Start Menu tab, click Customize.
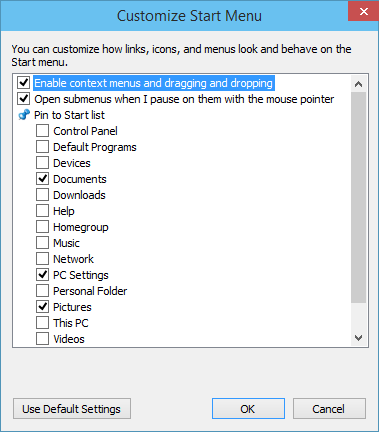
Now you can choose which folders and locations you want to include and exclude from the Start Menu.
Change Start Menu Color
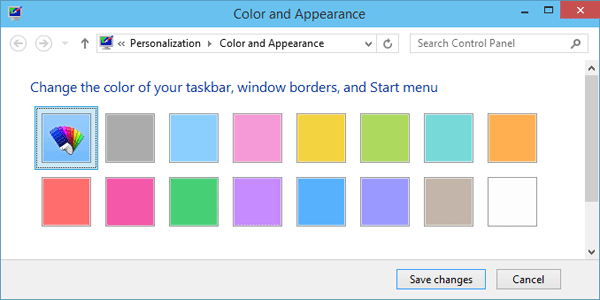
You can change the color of the Start menu easily. Right-click on an empty area of Start Menu and select Personalize. Select a color and apply it. The same color will also be applied to the taskbar and window borders.
