How can I enable Windows Sandbox using Command Prompt? Need to set up a Sandbox environment for testing an unknown software? Windows Sandbox is an optional feature that allows you to run a lightweight virtual machine, so you can run potentially dangerous programs without letting them harm your system.
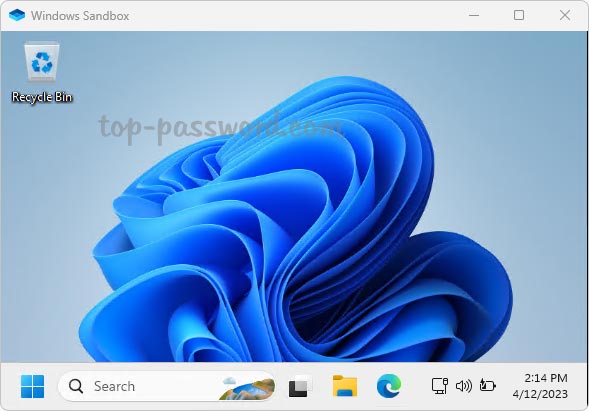
You can turn on Windows Sandbox using Control Panel. In this tutorial we’ll show you an easier way to install Windows Sandbox in Windows 11, by using PowerShell or Command Prompt.
How to Install Windows Sandbox on Windows 11
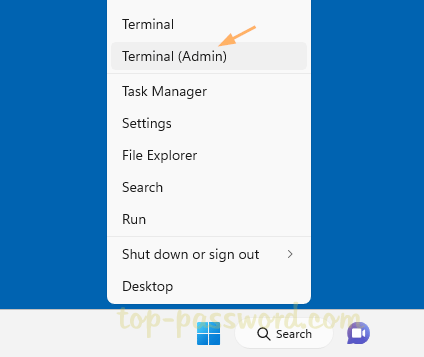
- Right-click the Start button on the taskbar, and choose Terminal (Admin) from the menu that appears.
- When Windows Terminal opens a PowerShell window, type the following command and press Enter.
Enable-WindowsOptionalFeature -Online -FeatureName "Containers-DisposableClientVM" -All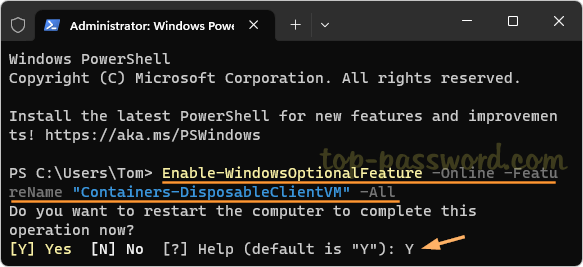
If Windows Terminal opens a Command Prompt window, run this command instead:
dism /online /Enable-Feature /FeatureName:"Containers-DisposableClientVM" -All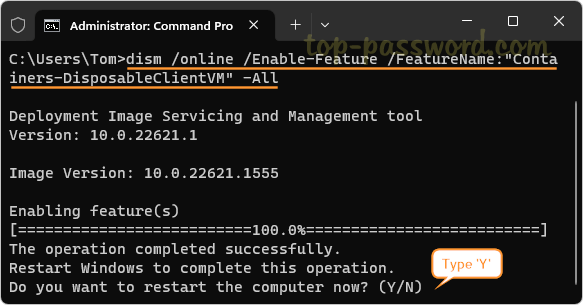
- When prompted to restart your PC, type Y to proceed. After installing Windows Sandbox, you can use the Start menu to find the Windows Sandbox and run it with admin rights.
If you need to uninstall Windows Sandbox later, run the following command in an elevated Windows PowerShell window:
Disable-WindowsOptionalFeature -Online -FeatureName "Containers-DisposableClientVM"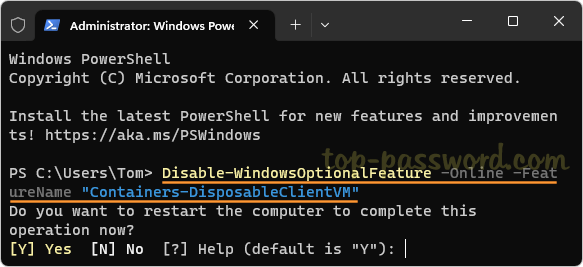
or execute this command in elevated Command Prompt to disable & uninstall Windows Sandbox:
dism /online /Disable-Feature /FeatureName:"Containers-DisposableClientVM"
That’s it!