Windows 10 has a hidden, built-in video capture tool that can record a game, or even record your screen inside regular apps as well. In this tutorial we’ll show you how to use Game DVR to record games or apps in Windows 10.
How to Record Games or Apps Using Windows 10’s Game DVR?
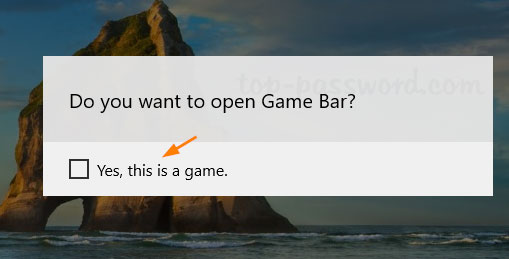
While the game or app you want to record is in focus, press the Windows key + G to bring up the Game bar. Select the “Yes, this is a game” check box if prompted.

Now you can click the Record button to start your recording session, or you can use the keyboard shortcut – Windows key + Alt + R.

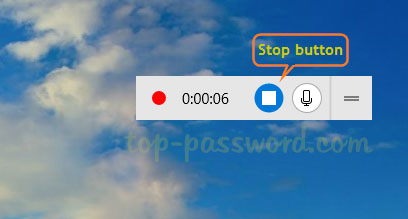
A small timer will appear at the top-right corner of the screen to indicate that you’re recording and display the elapsed time. To stop the recording, press the Windows key + Alt + R again and click on the Stop button.

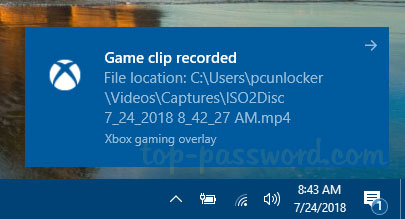
You will now see a ‘Game clip recorded‘ notification letting you know where your recorded video is stored.

By default, Game DVR automatically saves the videos in the default location: C:\Users\username\Videos\Captures. When running out of disk space on system(C:), you can move the Game DVR Captures folder to another location.