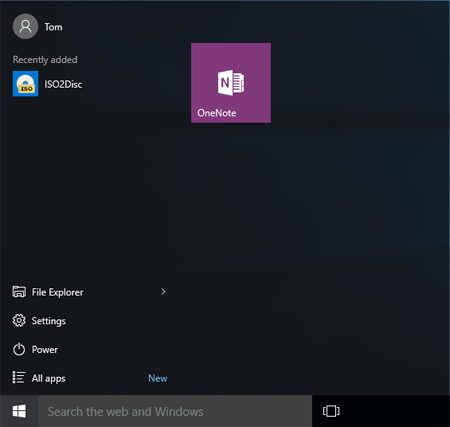
Start Menu is messed up and how to restore it to default? If your Start Menu has gotten overly cluttered, or want to restore the tiles that you’ve unpinned from Start Menu, here is a simple way to reset the Start Menu layout to default in Windows 10.

How to Reset Start Menu Layout to Default in Windows 10?
Before getting started, you need to create a new administrator account in Windows 10. If you haven’t enabled the built-in Administrator account before, just activate it if you don’t want to create a new administrator account.
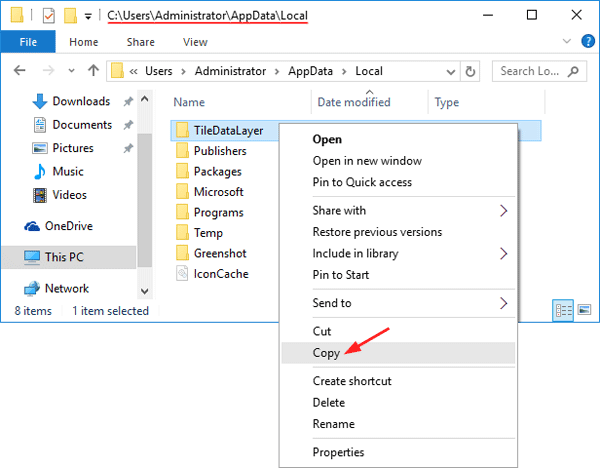
The first time you log into the new administrator account (In my example, it’s Administrator), Windows 10 will set up the default apps, programs, tiles for the Start Menu. Windows 10 keeps almost all data related to Start Menu in the following directory:
C:\Users\{new_administrator_account}\AppData\Local\TileDataLayer
Note: You need to configure Windows 10 to show hidden files if you want to see the TileDataLayer folder.
Now log off the new administrator account, and log in with your regular account (In my example, it’s Tom). Browse to the folder: C:\Users\{new_administrator_account}\AppData\Local, and copy the TileDataLayer folder to the root path of C:\ drive for backuping.

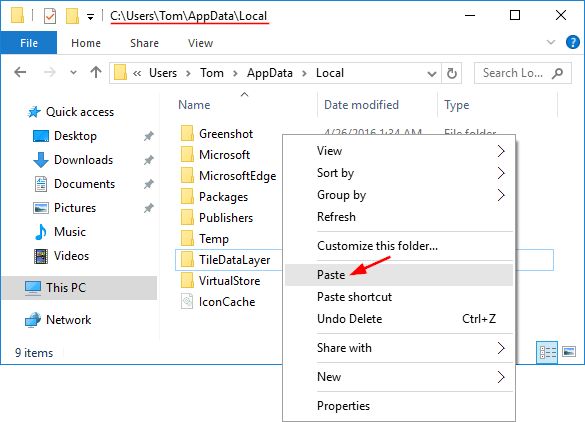
Log off your regular account, and log in with the new administrator account. Copy the backup folder C:\TileDataLayer and paste it into the directory C:\Users\{regular_account}\AppData\Local. When prompting to replace the file or skip copying, click on “Replace the files in the destination“.

When it’s done, log out and log back into your regular account, you will find that your Start Menu is magically back to defaults, and only the tiles of the built-in / predefined apps are pinned to the Start Menu.