When you right-click a document in File Explorer and select Print, it may prompt you to choose a printer instead of printing immediately. This problem happens when you don’t have a default printer set up.
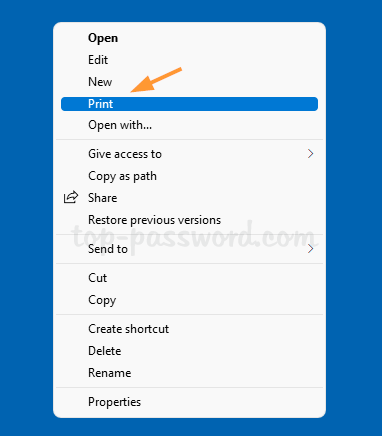
In this tutorial we’ll show you 3 methods to change or set default printer in Windows 11.
Method 1: Set Default Printer in Windows 11 via Control Panel
- Press the Windows key + R to bring up the Run dialog box. Type
shell:PrintersFolderand click OK.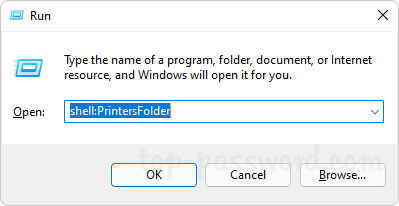
- You can then access the Printers folder from the Control Panel. Right-click on your desired printer and choose “Set as Default Printer” from the context menu.
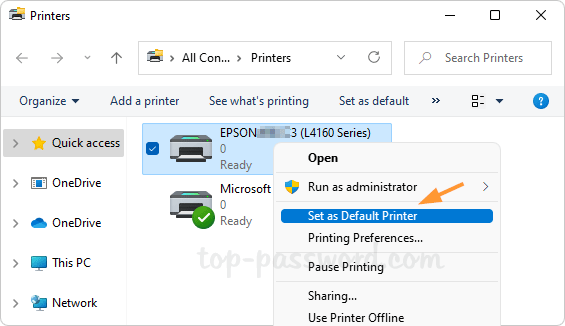
- When done, you will see a green tick on your new default printer.
Method 2: Set Default Printer in Windows 11 via Settings App
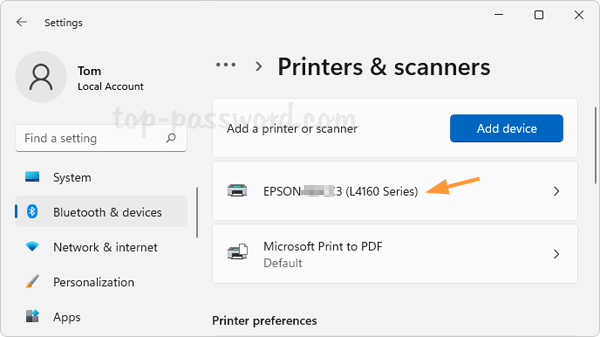
- Press the Windows key + I to launch the Settings app, and then click on Bluetooth & devices category. On the right side, click on Printers & scanners.
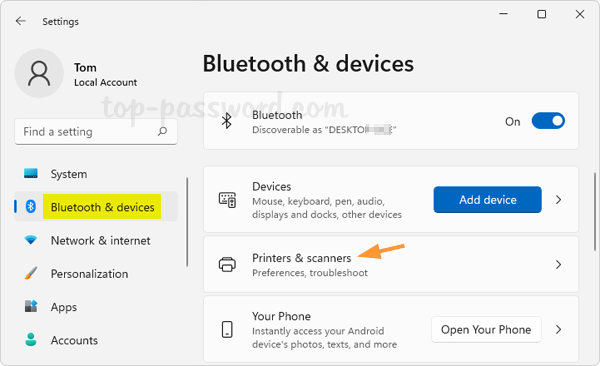
- Click on a printer you want to set as the default printer.
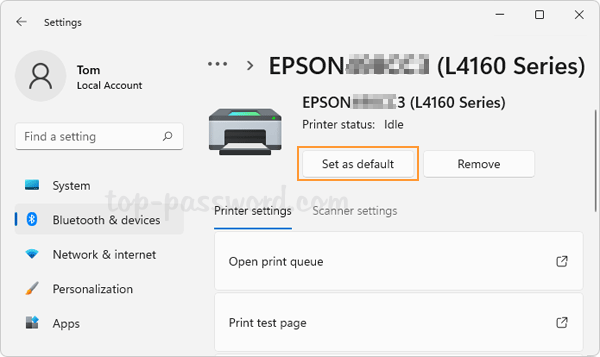
- Just click the “Set as default” button at the top, and your selected printer will become the new default printer on your computer.
Method 3: Set Default Printer in Windows 11 via Command Prompt
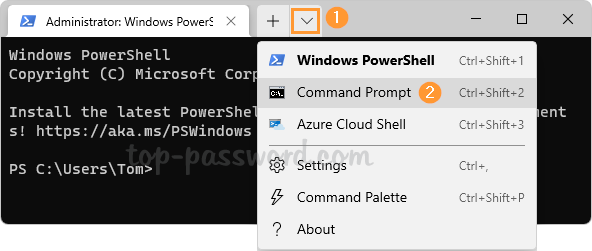
- To get started, open Windows Terminal as admin. If Windows Terminal opens PowerShell by default, click the down-arrow button located in the title bar and select “Command Prompt“.
- Enter the following command into the Command Prompt window, and press Enter.
wmic printer get name,default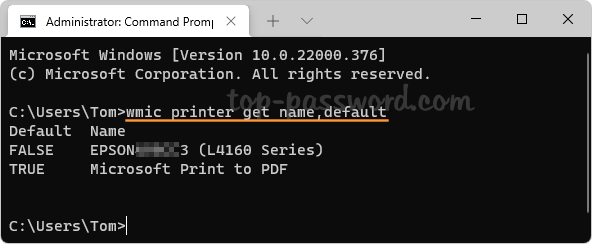
It will display a list of printers added to your computer. You can identify the current default printer which has
TRUEshowing in the “Default” column. - To change or set a new default printer, run the following command. Remember to substitute
printer_namewith the actual name of your desired printer.
wmic printer where name="printer_name" call setdefaultprinter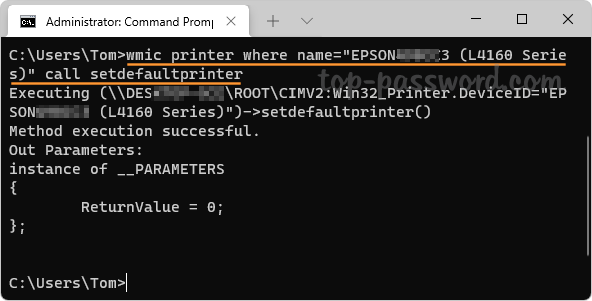
- Close Windows Terminal. Now you’ve successfully set a new default printer on Windows 11.