A Live CD is a bootable media that contains an operating system, along with software used for repairing, restoring, or diagnosing computer problems. It can save you a lot of trouble in case of a computer crash or malware infection on your PC. By using a Live CD, you can easily access these files on your unbootable computer and backup them to an external storage device. You can also use a Live CD to clean severe malware infections.
In previous post we’ve introduced 7 free system rescue discs. But most of them are based on Linux and many Windows users find they are very difficult to use. Here today we are going to show you how to create a Windows Live CD using PE Builder.
Requirements:
- Windows XP installation disc
- PE Builder
- A blank CD and CD/DVD burner
How to Create a Windows Live CD Using PE Builder?
Download the latest version of PE Builder self-installing package from Bart’s site and run it. It extracts all the files to a folder (e.g. C:\pebuilder3110a) and creates a desktop shortcut to launch the PE Builder.
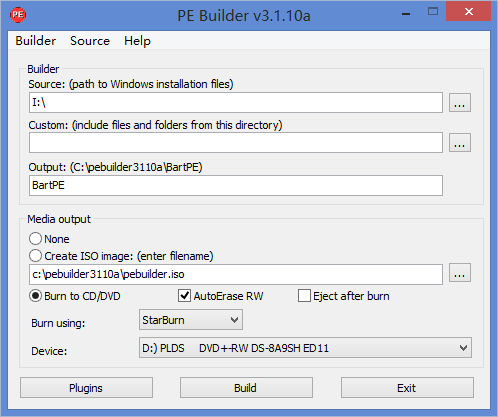
Double-click the PE Builder desktop shortcut. PE Builder will ask to search for windows installation files. Click No and specify the source path to your Windows XP installation disc.

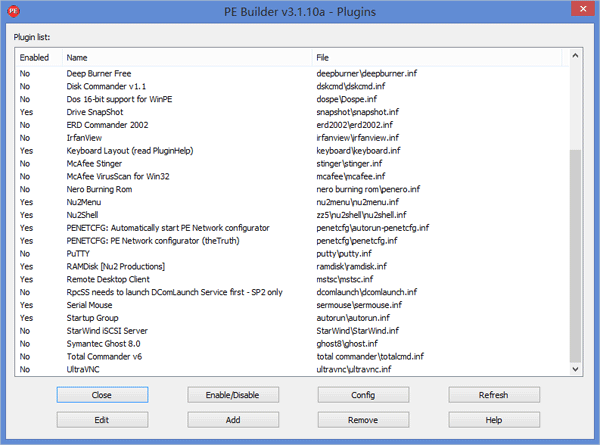
Click the Plugins button, you’ll see a list of plugins that will be integrated into the Live CD. Plug-ins are nothing but a way to add additional software to your Windows Live CD. You can visit the Bart PE plug-in repository and add more software to your Live CD.

After configuring your plugins, click on Close to return to the main interface. In the Media output section, select “Burn to CD/DVD” and then click the Build button.
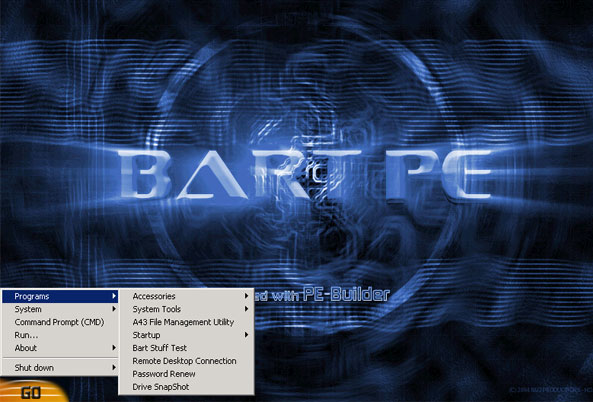
If the build process completes without any errors, you have made yourself a Live CD. You can then use it to boot up your computer.

Congratulations. You have created a Windows Live CD, far more useful than the system repair disc created by Windows. With this Live CD, you can rescue files from your crashed computer, defragment the hard disk and even surf the Internet without leaving any traces!