Have you ever encountered the error DNS_PROBE_FINISHED_NXDOMAIN or ERR_NAME_NOT_RESOLVED when accessing a website? Your browser displays a 404 error or tell you “The site can’t be reached“? These problems usually happen when your DNS cache is corrupted or out of update, so Windows can’t resolve the domain name of the website you’re visiting into IP address correctly. Clearing the DNS cache is the most effective way to resolve DNS related problems. Here’s how you can view, clear / flush DNS cache in Windows 10, 8, 7.
Part 1: View DNS Cache
Open an elevated Command Prompt and run the following command:
ipconfig /displaydns >C:\dnscache.txt

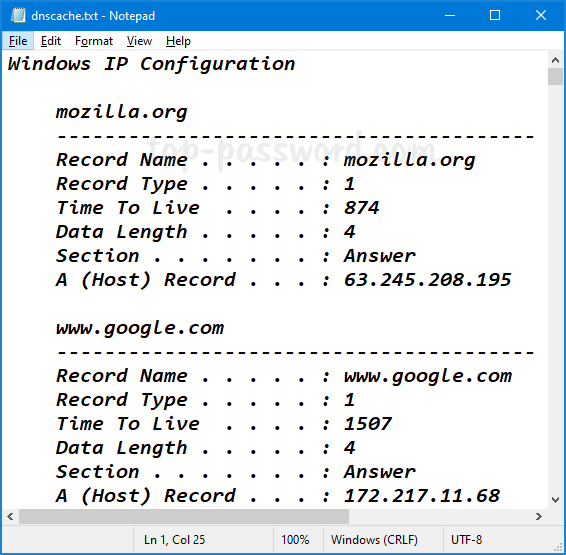
The above command will export the local DNS cache to a text file: C:\dnscache.txt. Just open it with Notepad and you can see the IP addresses for the respective domains or hosts you’ve ever visited.

As you can see in the above screenshot, Windows will check the DNS cache and send my request to the IP address 172.217.11.68 when I try to visit google.com.
Part 2: Clear or Flush DNS Cache
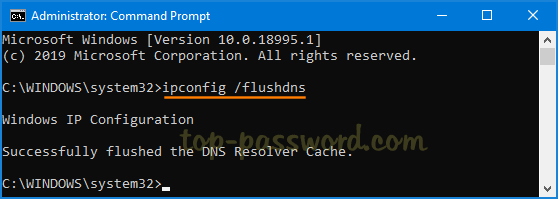
When you need to clear or flush DNS cache, just open the Command Prompt as administrator and type this command:
ipconfig /flushdns

Once pressing Enter, the DNS Resolver cache will be cleared immediately. Windows will start creating new and up-to-date DNS records for any websites you visit thereafter.