If you have a printer which is set up or plugged into your primary PC, it’s easy to share it with other computers on the same network. In this tutorial we’ll walk you through the steps to share your printer over the network in Windows 10.
Part 1: Share the Printer on your Primary PC
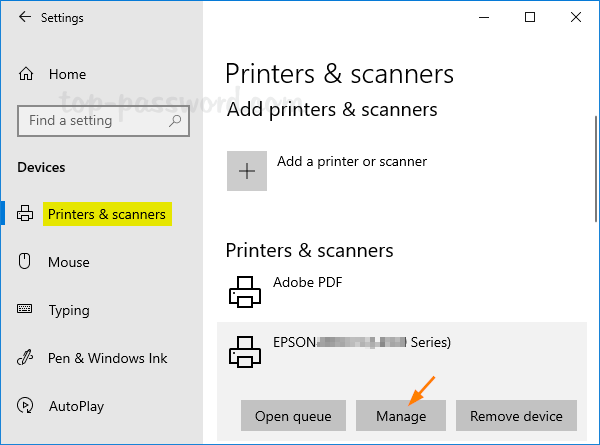
- Press the Win + I keyboard shortcut to open the Settings app. Navigate to Devices -> Printers & scanners. On the right side, select a printer you want to share and click the Manage button.
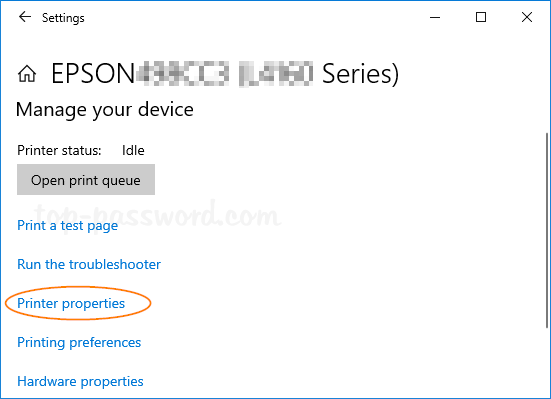
- In the next window, click on the “Printer properties” link.
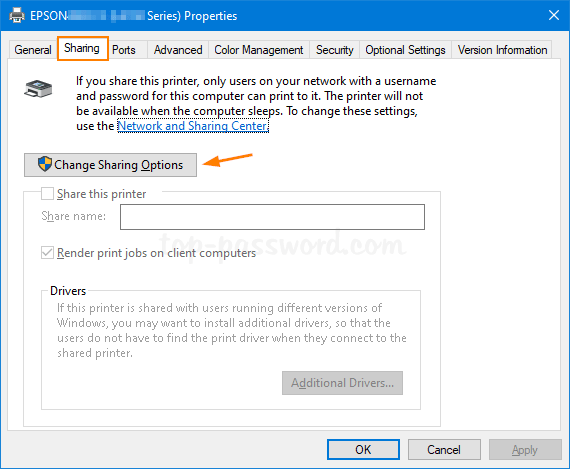
- When the printer Properties window opens, select the Sharing tab. If all options are greyed out there, click on the “Change Sharing Options” button.
- Check “Share this printer” and type a meaningful share name.
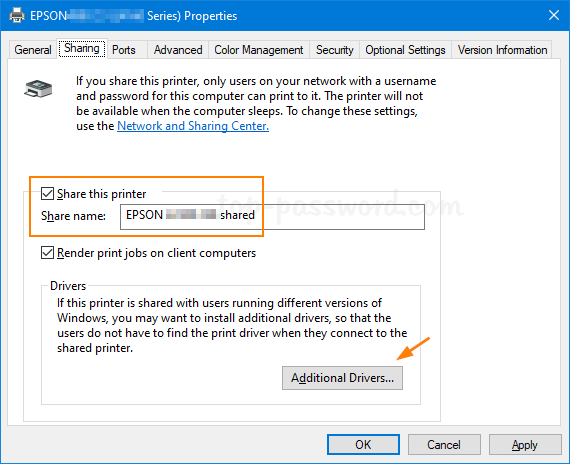
If you need to share the printer with computers running a mixture of Windows client architectures – 32 or 64 bit, click on the Additional Drivers button to install additional drivers.
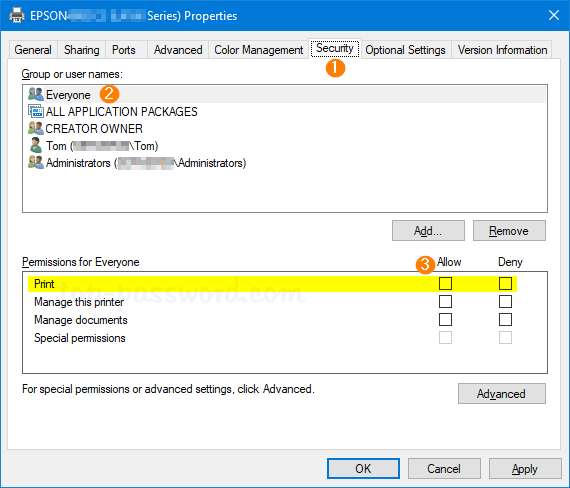
- Go to the Security tab. You can deny all permissions for the “Everyone” group and grant printing permissions to desired users.
Part 2: Connect to Shared Printer over the Network
- On the network computer you want to access the shared printer, press the Win + R keyboard shortcut to open the Run box. Enter the IP address of your primary PC and press Enter.

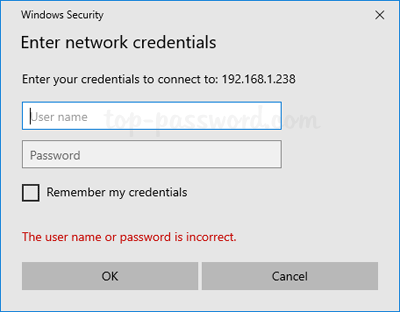
- When prompted, enter the network credentials so that you can access shared resources (including shared printer) on your primary PC.
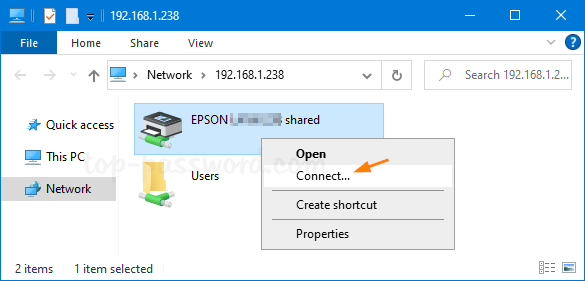
- Right-click on the shared printer and select Connect.
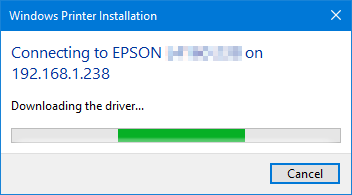
- It will download printer driver from your primary PC and then install it locally.
After the installation is complete, the printer will show up under the
Settings -> Devices -> Printers & scanners.
Conclusion
By setting up a shared printer, you’ll be able to print from any computer on the same network. The main disadvantage of this method is that the primary PC must always be turned on for other computers to use the printer.