A power plan lets you customize how long it takes your computer to turn off monitor / hard drive, or go into sleep after your computer is idle. In this tutorial we’ll walk you through the steps to create a power plan in Windows 11 / 10 / 8 / 7 to customize how your computer uses power.
How to Create a Power Plan in Windows 11 / 10 / 8 / 7?
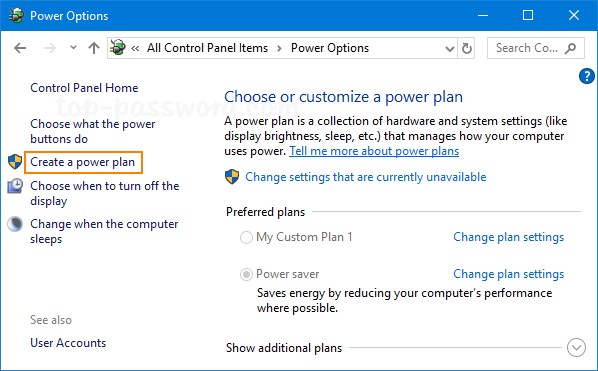
- Press the Windows key + R to bring up the Run dialog, type powercfg.cpl and press Enter to open the Power Options window.

- Click the “Create a power plan” link in the left navigational menu.

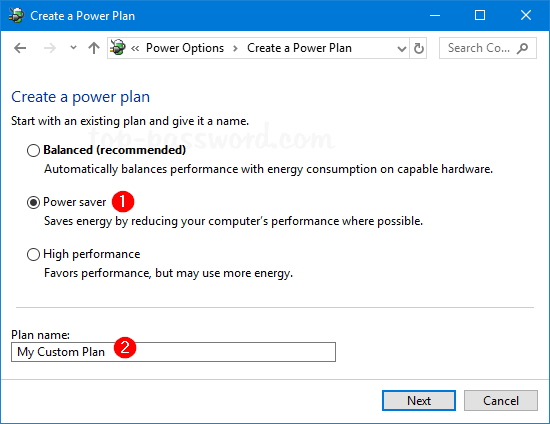
- Select an existing power plan as the base for your new plan, type in a plan name you want and click Next.

- Choose how long before your monitor turns off and how long before your computer goes to sleep. You can either set a certain amount of time, or set it to never. Finally click on Create.

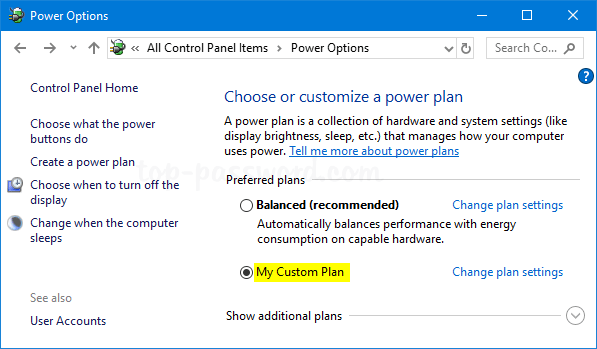
- When you come back to the Power Options window, you can see that new power plan is automatically set as active.

That’s it!