IP address can change periodically while MAC address never changes on their own and it’s hard-coded onto your network adapter. If your PC has both Ethernet adapter and wireless adapter, each adapter has its own MAC address. In this tutorial we’ll show you 4 easy methods to find the MAC address on Windows 11 computer.
Method 1: Find MAC Address Using Windows Terminal
- Open Windows Terminal (Command Prompt or PowerShell) and execute the following command:
getmac /v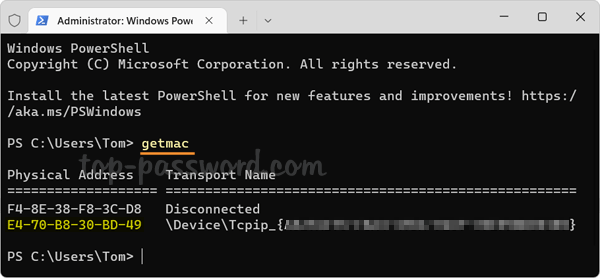
- It will display MAC addresses for each adapters installed on your PC, including virtual network adapter.
Method 2: Find MAC Address Using System Information Tool
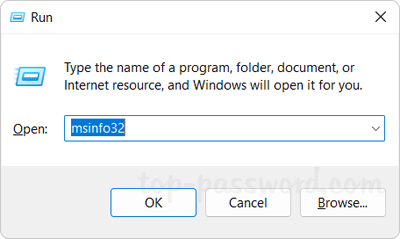
- Press the WIN + R keys together to bring up the Run box, type msinfo32 and press Enter.
- When the System Information tool launches, use the left sidebar to navigate to Components -> Network -> Adapter.
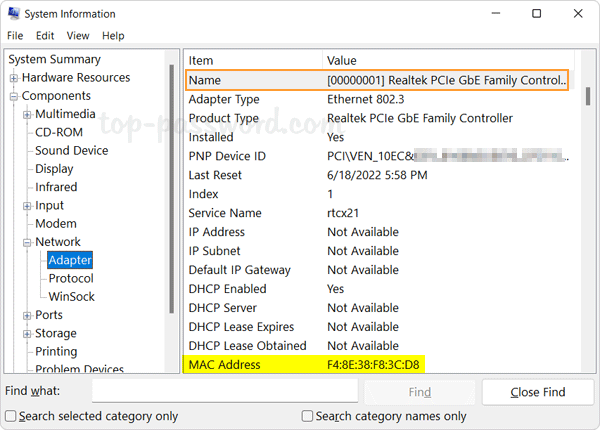
- From the right side pane, you will see a list of adapters, along with detailed information for each. The Name field can help you quickly identify the adapter you’re looking for, and the MAC address is shown in the “MAC Address” field.
Method 3: Find MAC Address Using Settings App
- Press the WIN + I keys to open the Settings app. Select Network & internet in the left pane. On the right pane, click either Wi-Fi or Ethernet depend on which adapter you’re connected to.
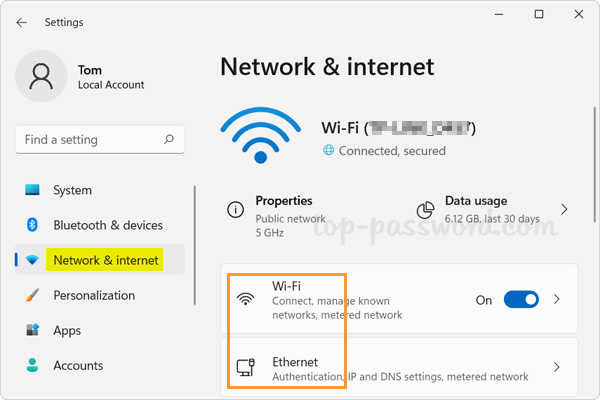
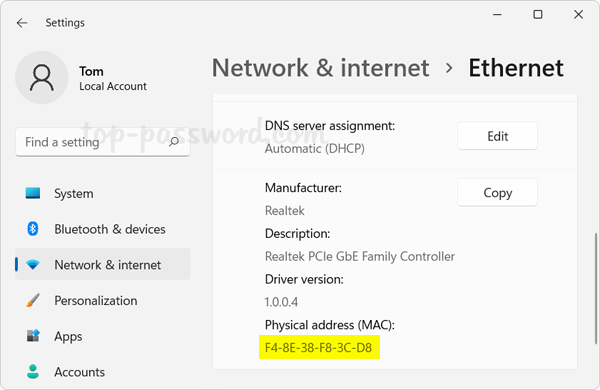
- If you’ve clicked Ethernet, scroll down to the bottom of the next window and you can see the MAC address of your Ethernet adapter.
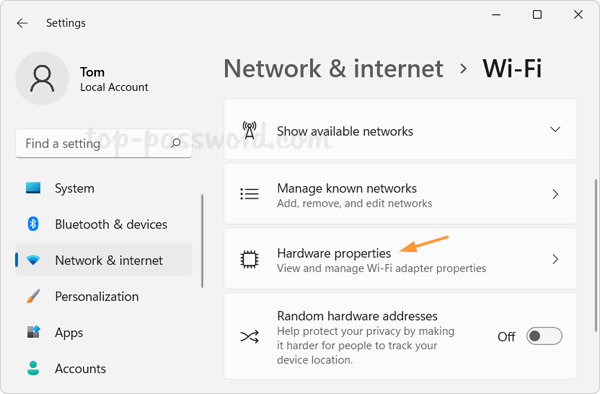
If you’ve clicked Wi-Fi instead, proceed to click the “Hardware properties” option in the next window and you can find the MAC address of your wireless adapter as well.
Method 4: Find MAC Address Using Network Connections
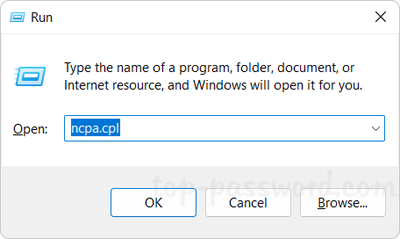
- Press the WIN + R keys together to launch the Run box, type ncpa.cpl and press Enter to open the Network Connections window.
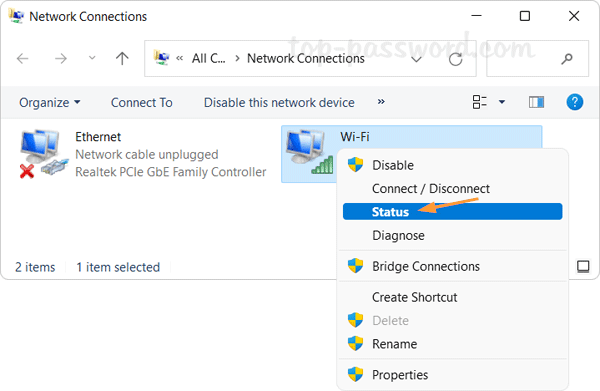
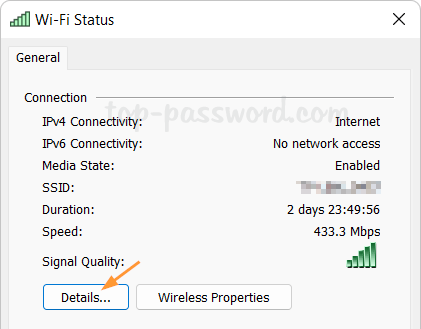
- Right-click your currently active network adapter and choose Status from the pop-up menu.
- Click the Details button.
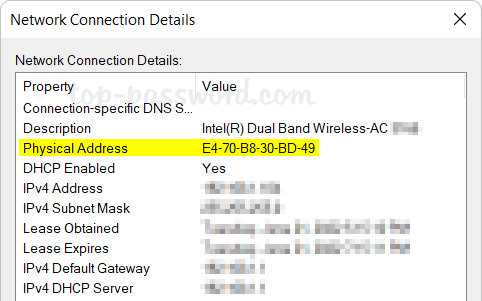
- In the “Network Connection Details” window, your MAC address is displayed beside the “Physical Address” field.
That’s it!