Some times you may prefer to install windows 8 from USB, there may be wide variety of reasons like, you don’t have a DVD drive or you wanted to install windows 8 in you netbook etc. No matter what the reason is, there is an easy way to do this. In this tutorial we’ll show you how to create a bootable Windows 8 installation USB drive and then use it to do a clean install of Windows 8.
Step 1: Create a Bootable Windows 8 Installation USB Drive
- First of all, insert your pen/USB drive and back up any data inside it.
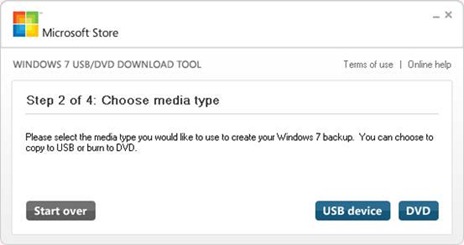
- Now download Windows 7 USB/DVD tool and open it.
- Browse to your windows 7 ISO image using the “Browse” button.
- As we are going to create a bootable USB drive, select “USB device” option.

- Now select the USB drive letter and click “Begin copying”.
Step 2: Configure the BIOS of Your Computer
- Turn on your computer. When it is powered on, check the boot-screen for setup key (i.e. DELETE key, F8 key, F2 key) to enter BIOS Setup Utility.
- Use the arrow keys to select the BOOT tab, then change the Boot Device Priority: Set 1st Boot Device to Removable Device so you can boot from a USB flash drive and perform Windows installation.
- Press F10 to save your changes.
Step 3: Install Windows 8 from USB Flash Drive
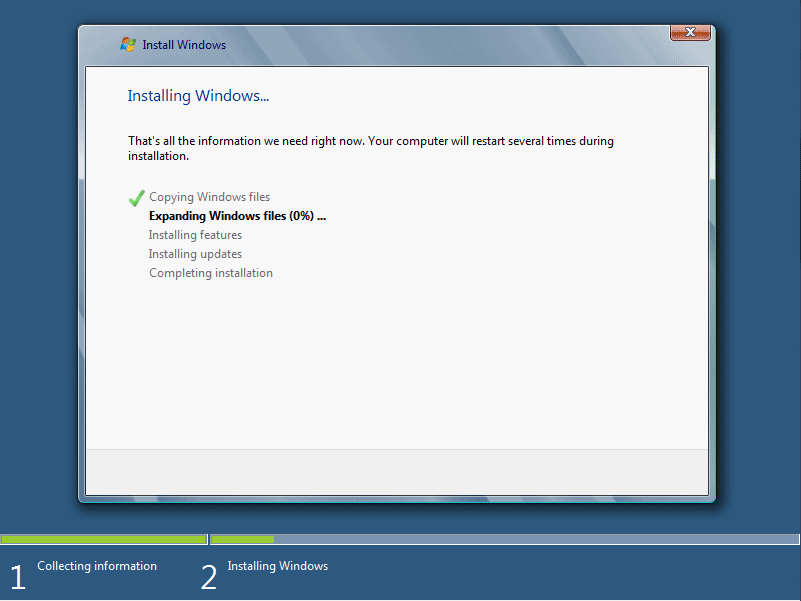
Assuming that you properly configured your BIOS, insert the Windows 8 Installation USB Drive into the USB port on your computer. Turn on the computer. Windows 8 setup program should now load, you can now continue to finish setting up Windows 8 from USB drive. Depending on the speed of your USB device, this may take a while.

Conclusion
This guide is quite easy to follow and anyone who has basic computer skill will able to create a bootable Windows 8 installation USB drive and install Windows 8 with any hassle. Many computers ship without Windows installation discs. So it’s necessary to create a Windows installation disk in case you need to do a fresh install of Windows on your own. Enjoy!