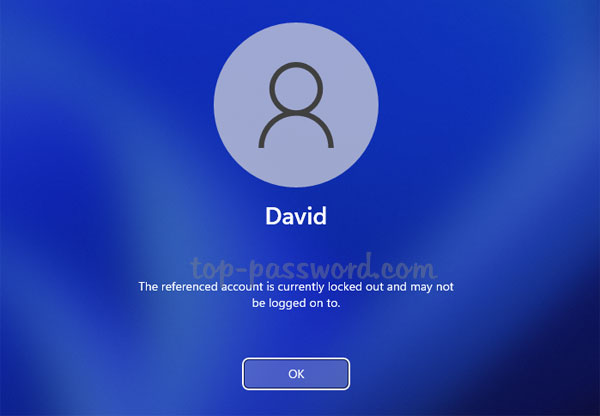
Get locked out of your Windows 11 laptop? When you enter incorrect passwords too many times, Windows will lock your account for security reasons. If the “The referenced account is currently locked out” message does not go away, you may be stuck at the login screen. In this tutorial we’ll show you some proven ways to flawlessly fix this problem about locking out of Windows 11 computer.
Part 1: Log in with Another Admin Account
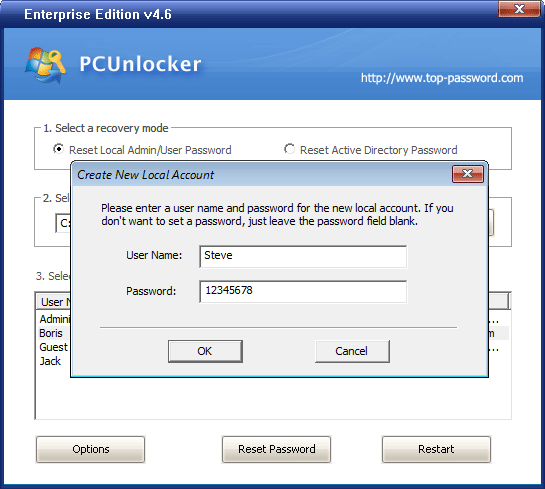
When a Windows account is locked down, you need to unlock it using another admin account. If you’ve lost admin rights or there is no more admin account available, try to make a PCUnlocker Live CD/USB, which enables you to create a new local admin account through a user-friendly interface.
Part 2: Unlock Your Locked Account
After logging back in with another admin account, you can unlock the locked-out account using Local Users and Groups snap-in. Follow these steps:
- Press the Windows key + R to bring up the Run box, enter
lusrmgr.mscand click OK to open the Local Users and Groups snap-in.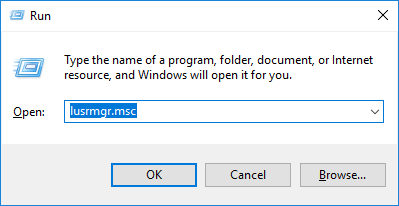
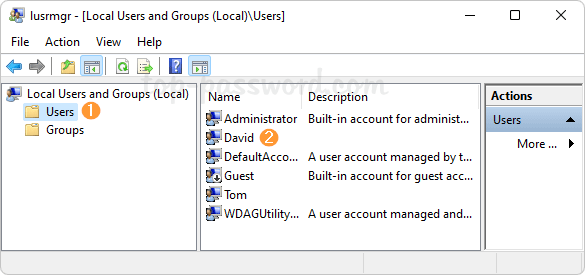
- Expand the Users folder in the left pane, and then double-click the Windows account in the middle pane you want to unlock.
- Uncheck the “Account is locked out” checkbox. Click Apply and then OK.
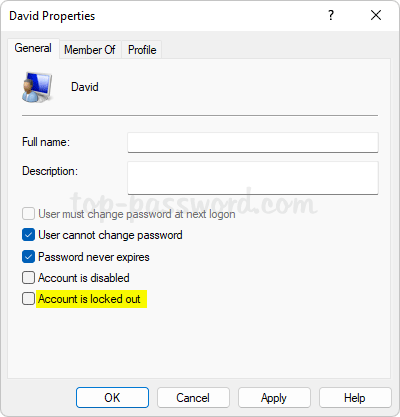
If you’re running Windows 11 Home edition, the Local Users and Groups snap-in is missing and you can unlock your account from Windows Terminal.
- Right-click the Start button on the taskbar and choose “Windows Terminal (Admin)“.
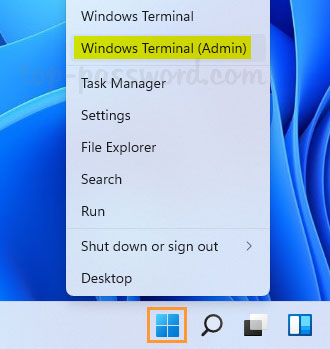
- Enter the following command to see the state of your desired account, replacing
account_namewith the actual name of your local user. The “Account active” field indicates whether the user account has been locked.
net user account_name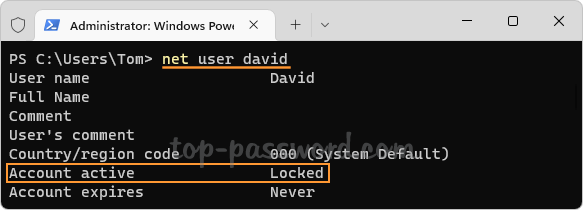
- Next, simply run this command to unlock your locked account:
net user account_name /active:yes
Part 3: Change Account Lockout Policy
When a cat hops on your keyboard or you’re about to perform a deep key cleaning, there are chances of getting your account locked out. In order to reduce the risk of being locked out in future, it’s advisable to increase the account lockout threshold. Follow these steps:
- Press the Windows key + R to open the Run box, type
secpol.mscand press Enter to open Local Security Policy Editor.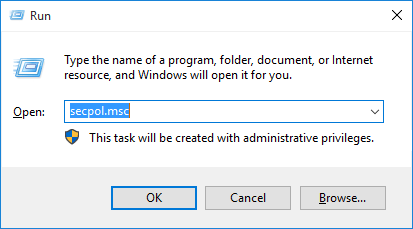
- Expand to
Account Policies -> Account Lockout Policy, and then double-click the “Account lockout threshold” policy in the right pane.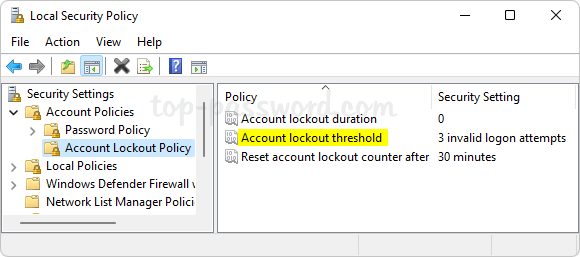
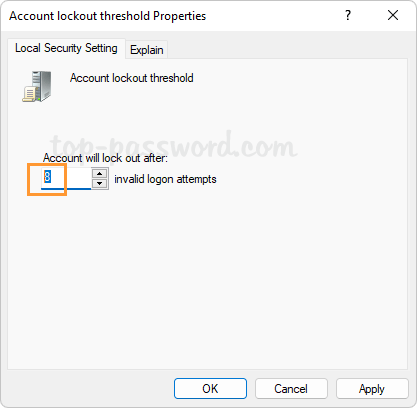
- Increase the number of invalid logon attempts before the account will lock out, click OK.
If you’re running Windows 11 Home edition, you need to perform this task using Windows Terminal.
- Right-click the Start button on the taskbar and select “Windows Terminal (Admin)“.

- Type
net accountsand press Enter. It will display a list of account settings, including lockout threshold.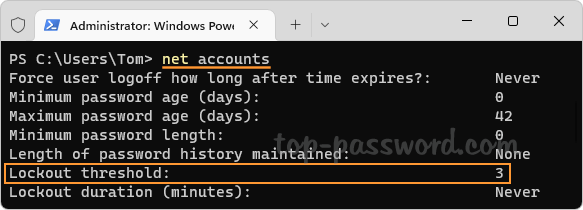
- To adjust the account lockout threshold, enter the following command. Replace 8 with a number for how many invalid logon attempts before the account will be locked out.
net accounts /lockoutthreshold:8
That’s it!