How can I record my own voice from a Windows 10 computer? Windows 10 comes with a built-in Voice Recorder app which lets you record audio from a microphone or headset. In this tutorial we’ll show you how to access and use Voice Recorder app in Windows 10.
Part 1: Open Voice Recorder App in Windows 10
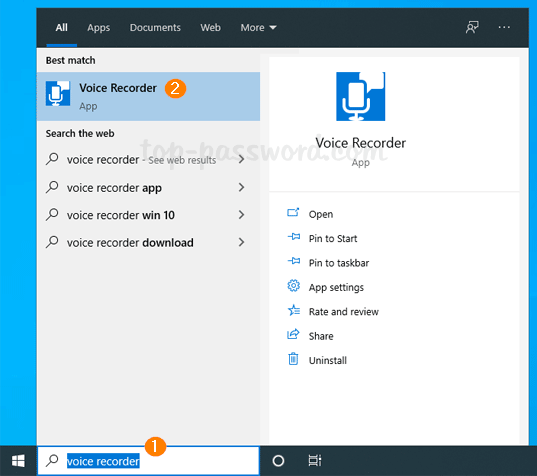
Click inside the Search box on the lower left side of your screen, and type “voice recorder“. Then you can click the app to open it.
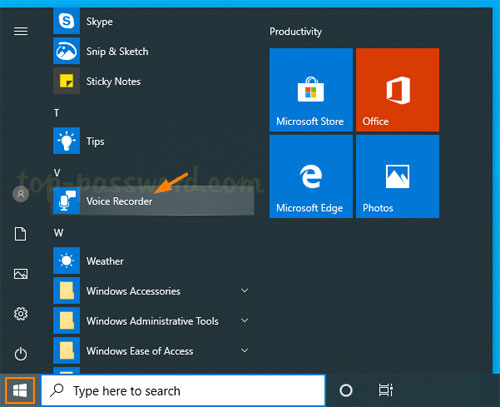
You can also access the Voice Recorder app from the Start Menu. Just click the Start button and scroll to the letter V, you can find the app and launch it quickly.
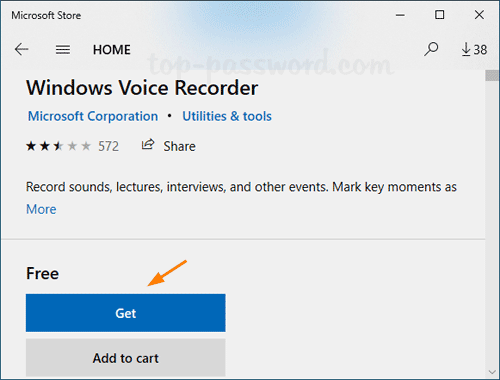
If the Voice Recorder app is missing or somehow disappears on your system, you can open the Microsoft Store. Search for Windows Voice Recorder, and click the app in the search result to install it.
Part 2: Use Voice Recorder App to Record Sound
Once the Voice Recorder launches, click the Record button or press Ctrl + R to begin recording audio.
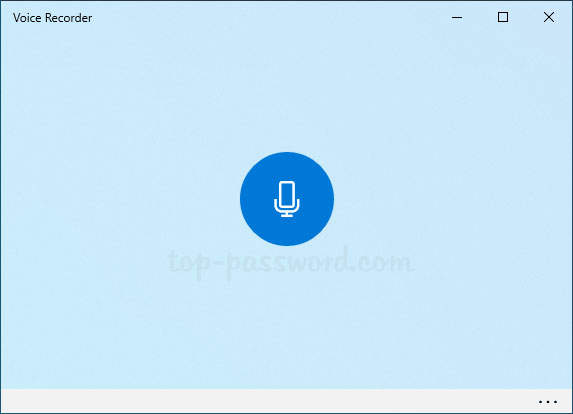
When you are finished, click the “Stop” button and a new window will appear showing the audio recordings you have created. You can listen to the recording or right-click it to rename, delete or find your voice recorded files.
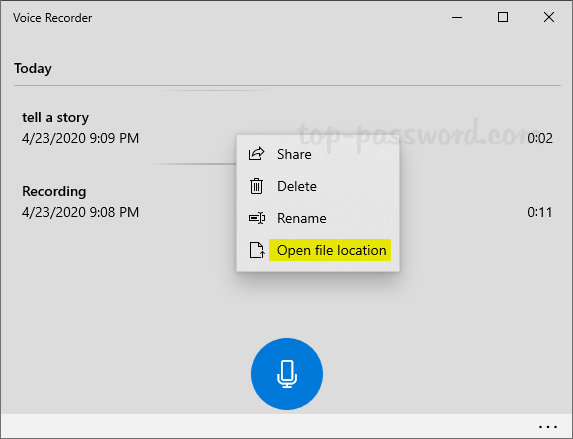
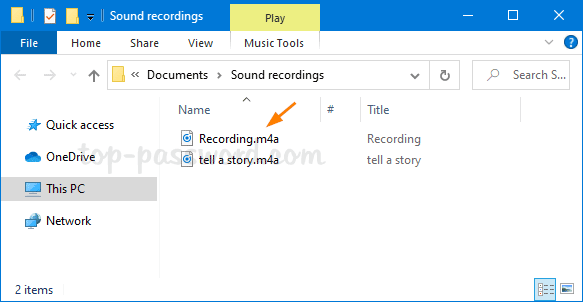
The voice recorded files are saved as .m4a format, and you can find them under the folder C:\Users\user_name\Documents\Sound recordings. If you need to convert them to mp3 or other audio formats, Video Converter Assist can be of help.
That’s it!