Microsoft Outlook 2010 has option to automatically send or receive emails at a specified time interval. By default, the time interval is 30 minutes in Outlook 2010. If you need to keep up with your emails, you might want Outlook to check for new messages every few minutes. Here we’ll show you how to set the time interval to automatically check mail in Outlook 2010.
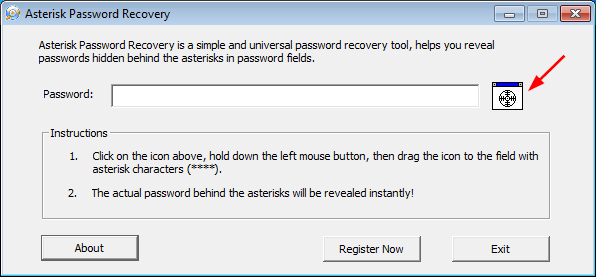
Tips: If you lost or forgot email account password set up in Outlook 2010, you can reveal the saved email password using Outlook Password Recovery program.
How to Set Time Interval to Automatically Check Mail in Outlook 2010?
In Outlook 2010, click on the File tab then click Options to bring up the Outlook Options window.

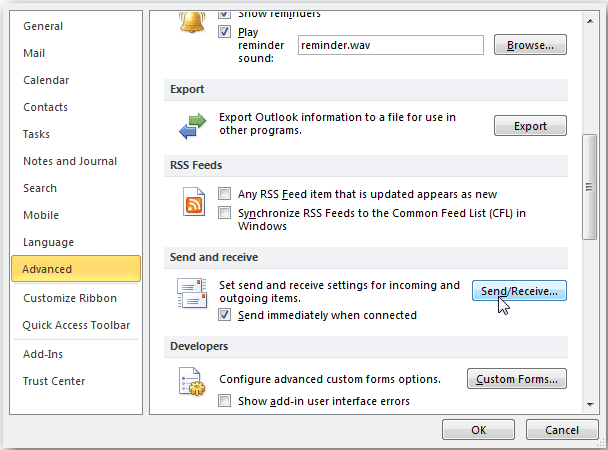
Navigate to Advanced tab and scrolled down to Send and receive section. Then click on the Send/Receive button.
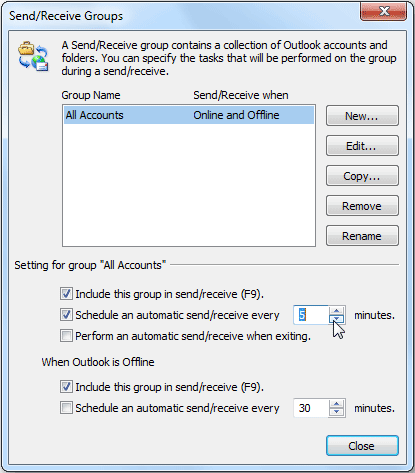
In the Send/Receive Groups window, select the group named All Accounts. From bottom of the dialog, there is a list of send/receive options for selected group. If you want to remove any selected group from sending and receiving items, disable the first option. From Schedule an automatic send/receive, enter the desired time interval after which it will automatically schedule send/receive mail.
