Private Character Editor is a hidden tool included with all versions of Windows. It allows you to create your own characters, symbols or fonts and use them in your document. In this tutorial we’ll show you different ways to access Private Character Editor in Windows 10.
Method 1: Open Private Character Editor via Run Command
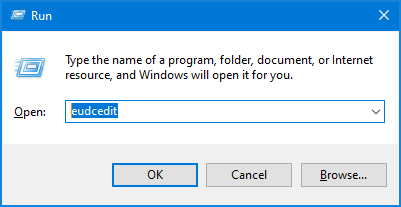
Press Windows + R keys to launch the Run dialog, and then type eudcedit. Once pressing Enter, Private Character Editor will open up.
Method 2: Open Private Character Editor via Cortana Search
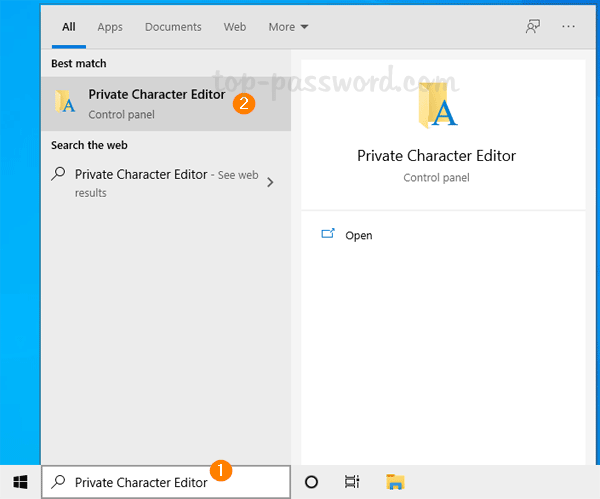
Enter “private” into the Cortana search box on the taskbar, and then click on the Private Character Editor shortcut to start the program.
Method 3: Open Private Character Editor via Control Panel
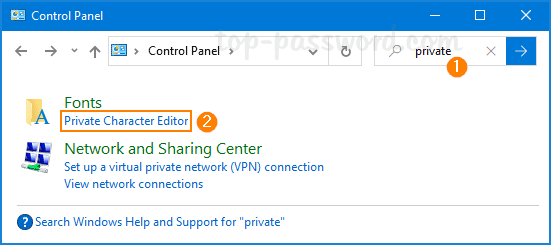
Open Control Panel and type “private” in the Search box in the upper right corner, then you can click on the Private Character Editor shortcut in the list of results.
Method 4: Open Private Character Editor via Settings App
Press Windows + I keys to launch the Settings app, and then click inside the Search box and type “private“.
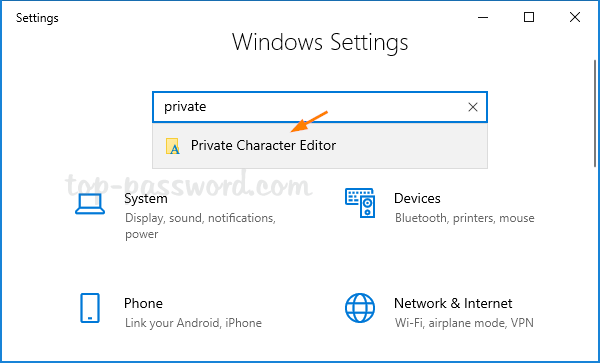
You can access Private Character Editor from the listed result.
Method 5: Create a Desktop Shortcut for Private Character Editor
Right-click any blank area on the desktop and choose New -> Shortcut. In the Create Shortcut wizard, type the follow location and click Next.
%windir%\system32\eudcedit.exe
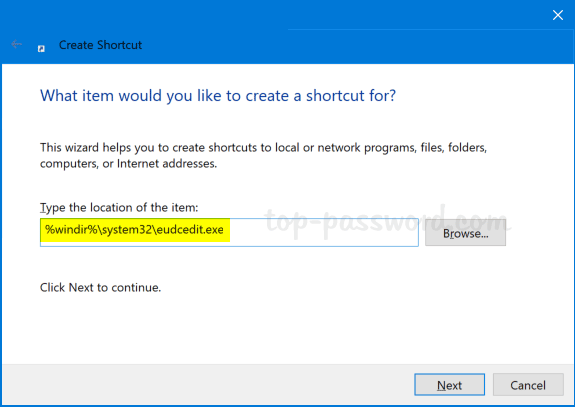
Name the shortcut “Private Character Editor” and you’re good to go.