SQL Server 2016 Community Technology Preview 3.0 (CTP 3.0) was released to the public on 28th October, and I downloaded a fresh copy to start trying it out. In this article I’m going to explain, step-by-step, how to install SQL Server 2016 CTP 3.0 instance on a Windows Server 2012 R2 system.
Preparing for installation
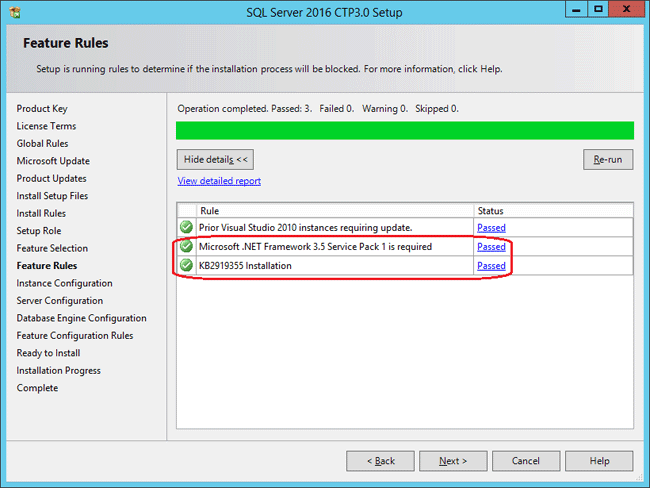
Before beginning, you should check the minimum hardware and software requirements before you install SQL Server 2016. both .NET framework 3.5 and Windows 8.1 Update (KB2919355) are required to be installed. Check out the following articles on how to install .NET framework 3.5 and KB2919355 on Windows Server 2012 R2:
Install .NET Framework 3.5 on Windows Server 2012 with / without CD
Fix: Windows 8.1 Update (KB2919355) is not applicable to your computer
How to Install SQL Server 2016
SQL Server 2016 CTP 3.0 is free for trial and you need to sign-in to download it from Microsoft’s web site. The ISO file I’ve downloaded is SQLServer2016CTP3.0-x64-ENU.iso that takes around 2.58 GB of space on disk. Once downloaded, you can burn the ISO image to a DVD for making a installation media. Here’s how to install SQL Server 2016 on Windows Server 2012 R2:
-
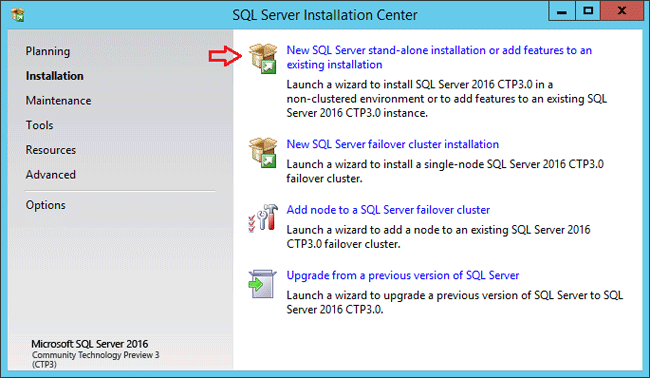
Insert the SQL Server 2016 installation DVD. From the root folder, double-click Setup.exe and you’ll be greeted with SQL Server Installation Center. To perform a new stand-alone installation, click New SQL Server stand-alone installation or add features to an existing installation.
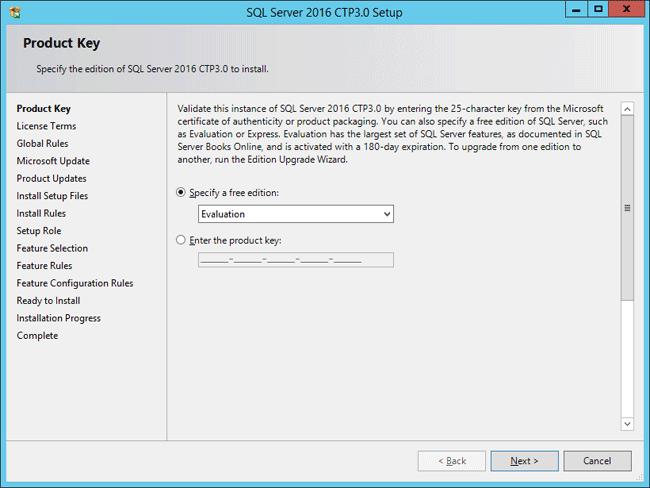
- Enter the product key and click Next. As the final version of SQL Server 2016 is not released yet, so just select evaluation edition.
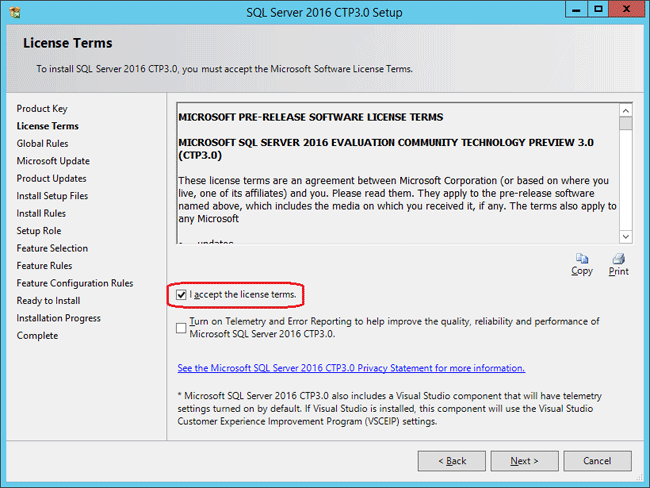
- In the License Terms window, tick the box I accept the license terms and then click Next to continue.
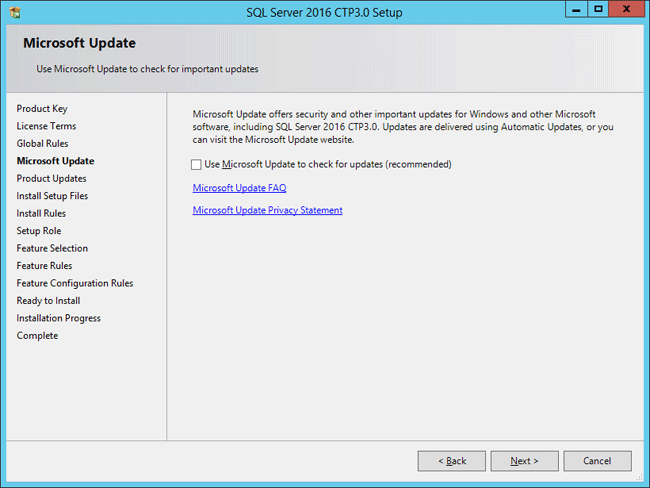
- A new option appears here to use Microsoft updates if you would like to. I keep it unchecked as I would patch SQL Server manually at the right time, after testing.
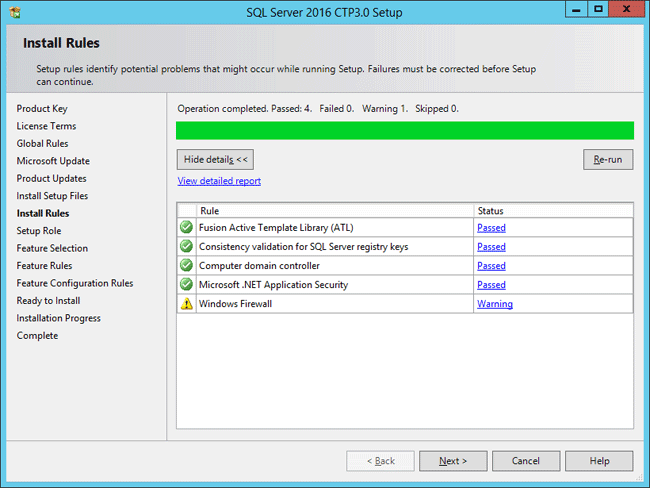
- Run the setup rules checks. I have a warning to tell me that the firewall is on and just ignore it if you haven’t configured Windows firewall to block SQL Server access.
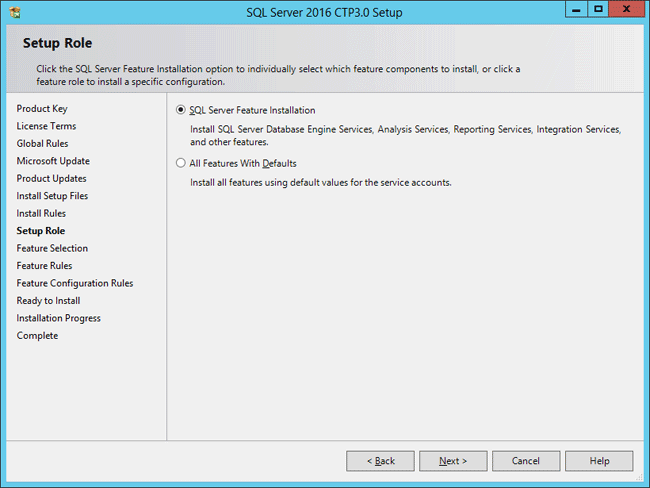
- On the Setup Role page, choose SQL Server Feature Installation and click Next.
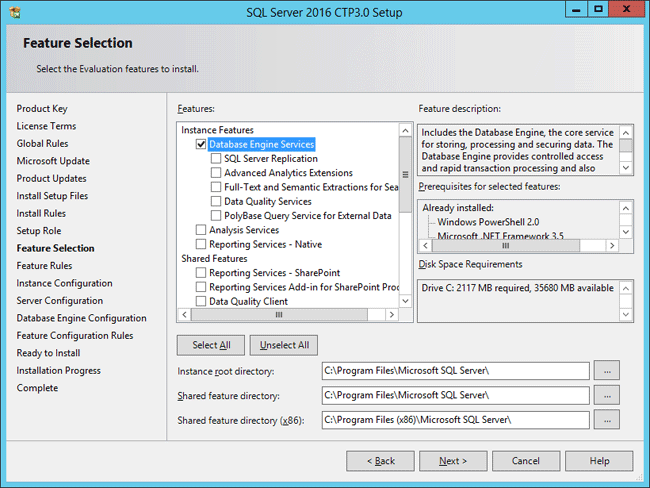
- Select the required SQL features and click Next. Make sure that Database Engine Services is checked. I have also chosen to install the Management Tools – Basic so I can use Management Studio to manage SQL Server.
- At this step another check will run, this time to identify problems that might block the setup, based on your choices of the last step. Just wait for its completion and click Next.
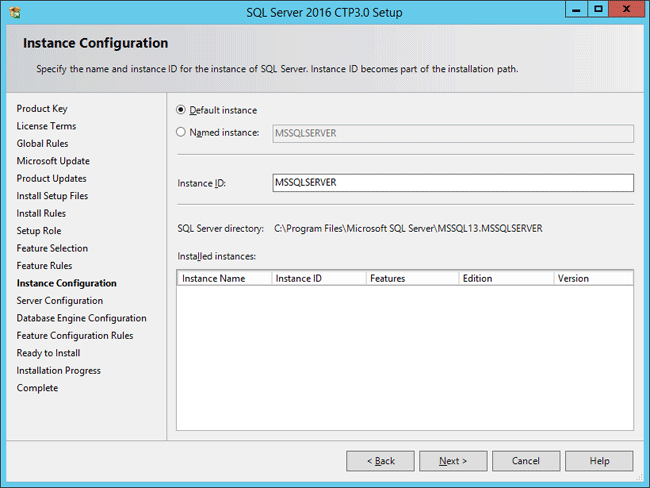
- This step lets you decide if you want to go with Default Instance or a Named Instance. Be aware that you can only install one default instance but you can install multiple named instances on the same computer.
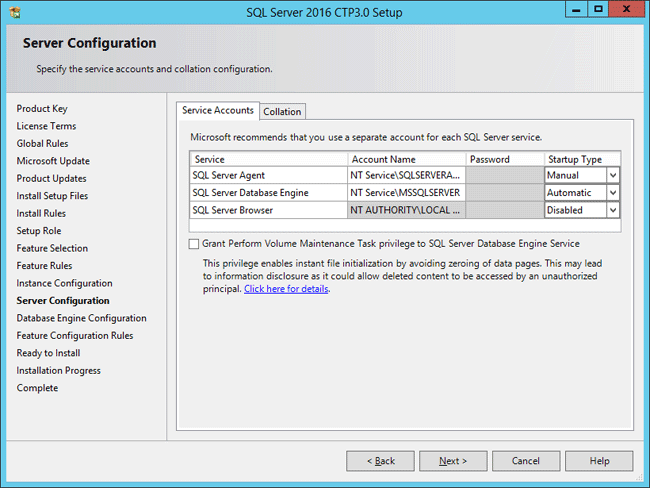
- On the Server Configuration screen, you can specify the service accounts and startup type, or simply leave it at the default configuration as you can change them after the installation.
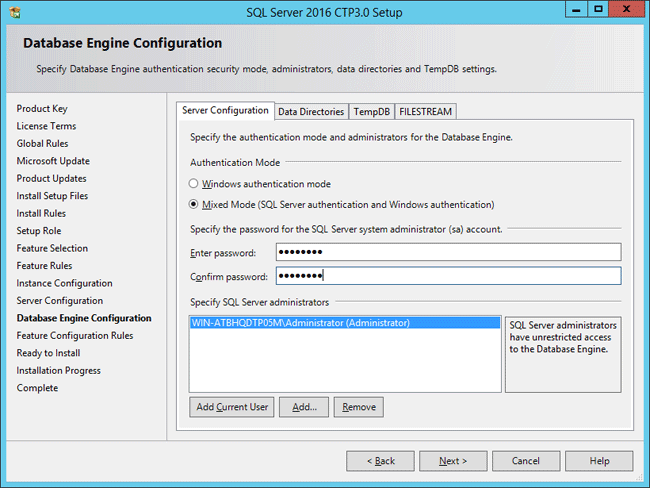
- Now you need to choose the authentication mode of your SQL Server instance. For the purposes of this article, I will be choosing Mixed Mode Authentication. You will also need to specify the SQL Server administrators to be used; in this example I will use the current logged in user by clicking Add Current User button.
- This page shows a tree view of installation options that were specified during Setup. Review and click Install.
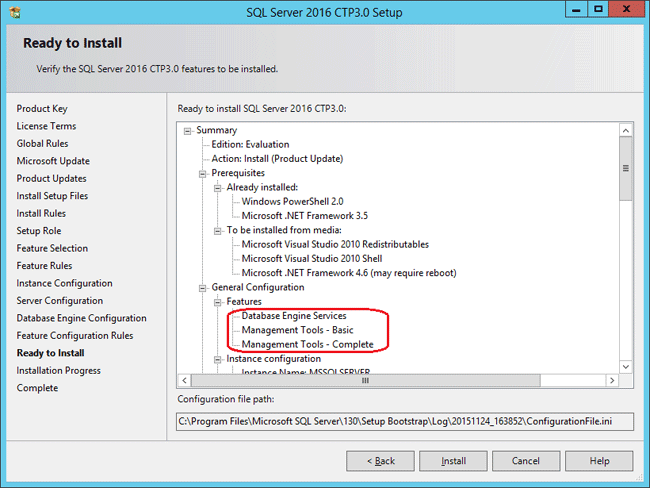
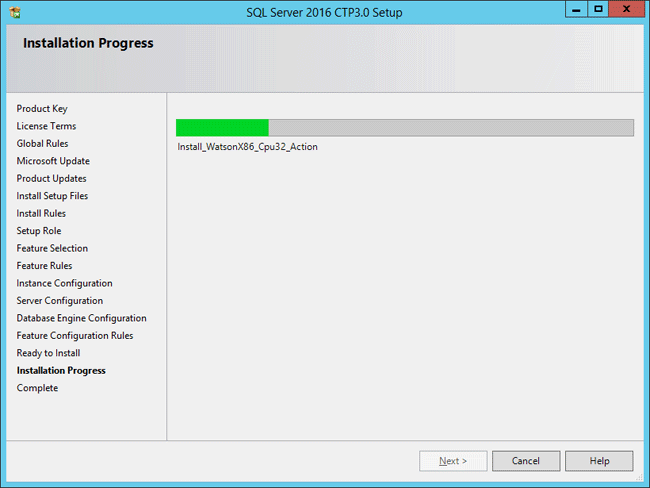
- The installation will begin — wait for completion.
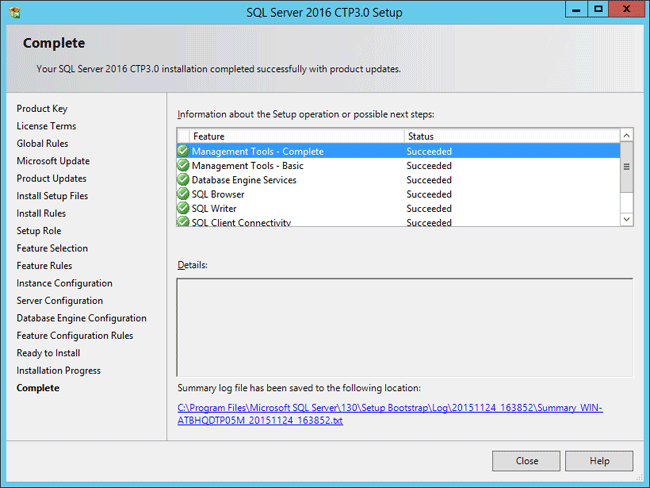
- Once the installation is complete, SQL Server 2016 Setup will confirm this showing which items of the install succeeded.
