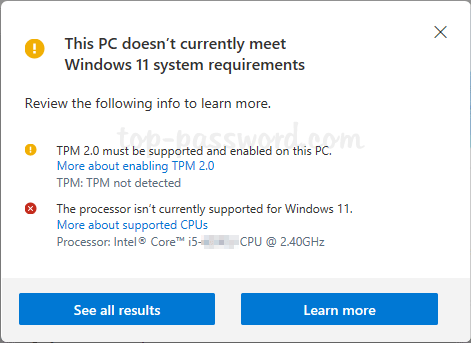
Every time I try to run the “Windows 11 Installation Assistant” for a major update, it presents me with the error “This PC doesn’t meet the minimum requirements to install Windows 11“, and afterwards the “PC Health Check” app gives the similar message but lists out the unsupported hardwares. Previously I had no other choice but to perform a clean OS install by following this trick. Today I found an easy way to upgrade to Windows 11 24H2 directly on unsupported PC that is currently running an earlier build of Windows 11, like 23H2 or 22H2.
How to Upgrade to Windows 11 24H2 on Unsupported PC
- Before getting started, we need to download the Windows 11 disk ISO image from Microsoft’s website. Once it’s downloaded, open File Explorer and right-click on the Windows 11 ISO image, then choose “Open with” -> “Windows Explorer“.
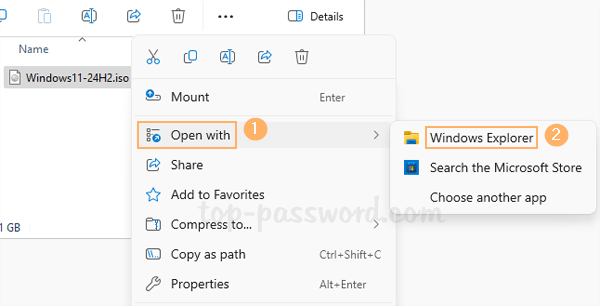
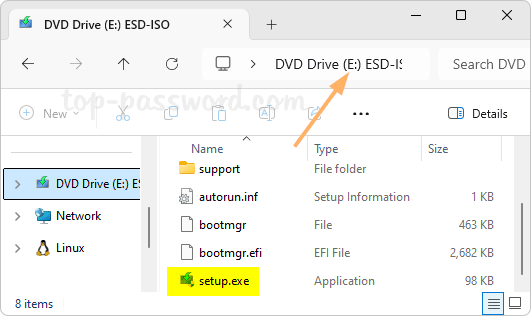
- It will mount that ISO image to a virtual DVD drive. You need to take a note of the drive letter as we need to run the setup.exe file later.
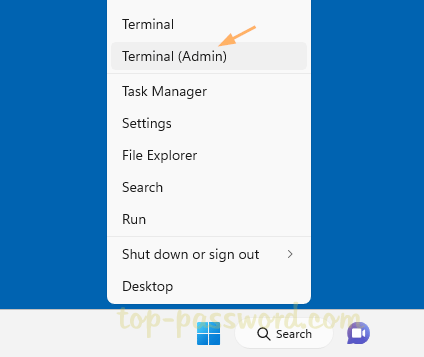
- Right-click the Start button in the taskbar and choose “Terminal (Admin)“.
- From the terminal window, execute the following command, replacing E with the drive letter of your DVD drive found in the above step.
E:\setup.exe /product server
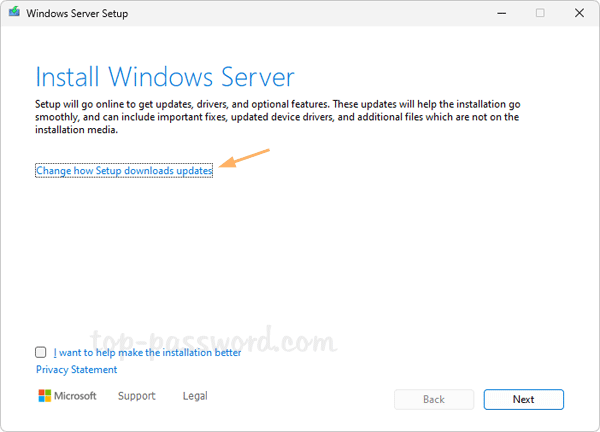
- The “Windows Server Setup” dialog will come up. Don’t worry about this as it will just launch the in-place upgrade rather than installing Windows Server. In my case, I just plan to upgrade my current Windows 11 Pro 23H2 to the latest release 24H2. Make sure you click the “Change how Setup downloads updates” option.
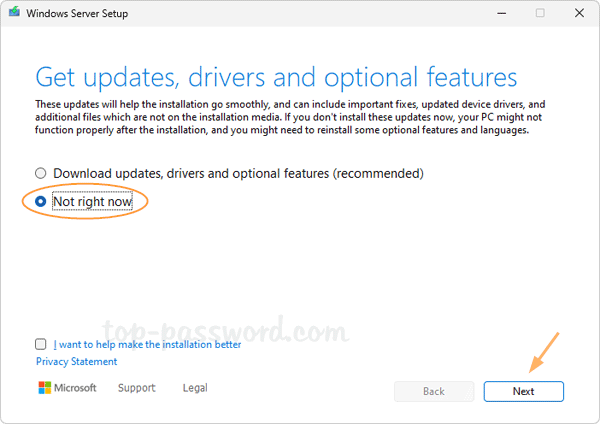
- Choose “Not right now” and click Next.
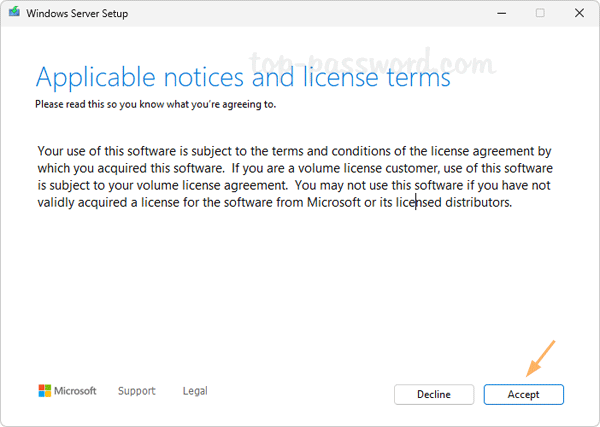
- Click Accept for the license terms.
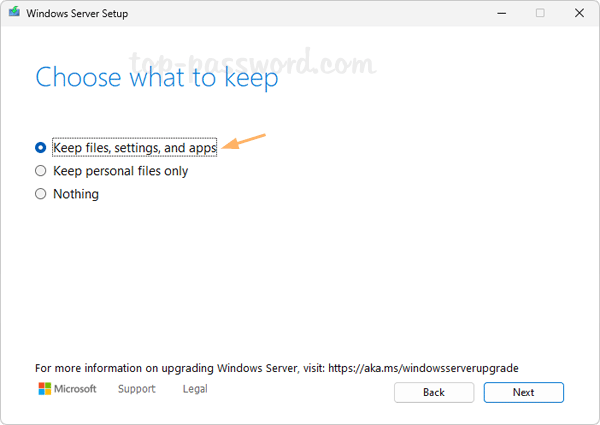
- Select “Keep files, settings, and apps” and click Next.
- Wait for one or two minutes.
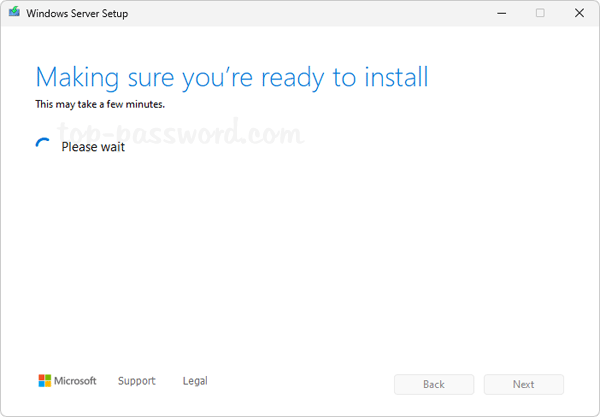
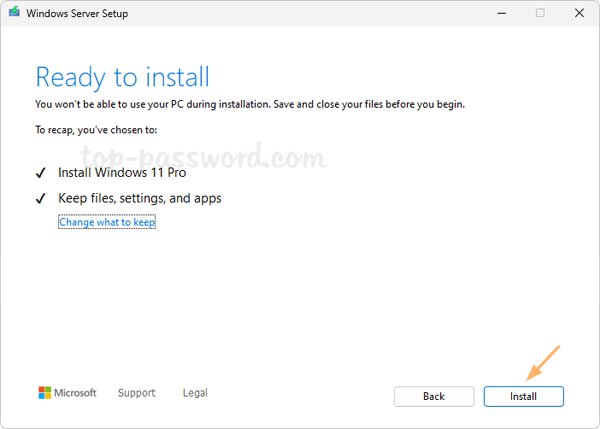
- When the “Ready to install” window appears, click Install to perform the actual in-place upgrade process. Just be patient as it is the most time-consuming part.
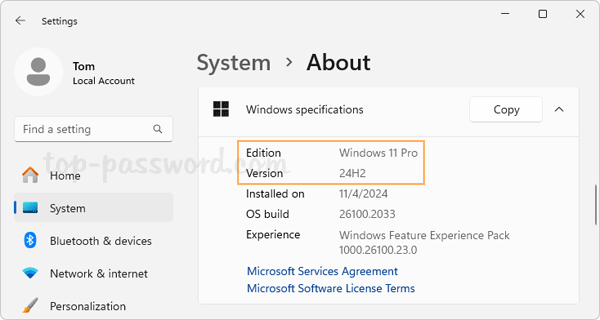
- After you complete all the steps and log back into Windows 11, open the Settings app and navigate to System -> About and you should see you’ve successfully upgraded to Windows 11 24H2.
That’s it!