How to right-click without a mouse on your laptop? Just hold down the SHIFT key and then press F10 and it will bring up the right-click context menu, but using that keyboard shortcut is still not fast or easy when you need to access the right-click menu frequently. In this tutorial we’ll show you how to assign right-click function to a keyboard key in Windows 10, so you can press a single key to open right-click context menu.
How to Map a Key to Open Right-Click Context Menu in Windows 10
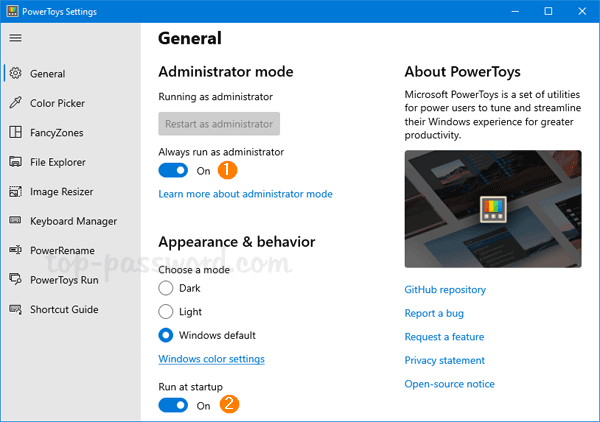
- Before getting started, download Microsoft’s new PowerToys app from Github and install it on your computer. On the first launch, you should toggle “Always run as administrator” on, and turn on “Run at startup” to let the app run in the background.
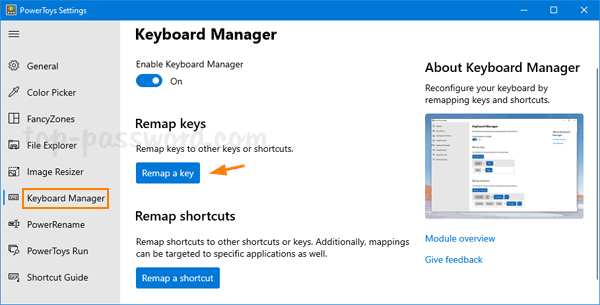
- Select Keyboard Manager from the left-hand column. On the right side, click on the “Remap a key” button.
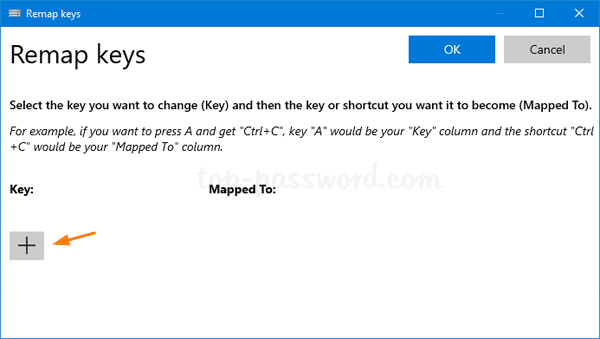
- The “Remap keys” window will pop up. Click the plus sign (+) to add a new key mapping.
- Under the “Key:” column, click on the Type button.
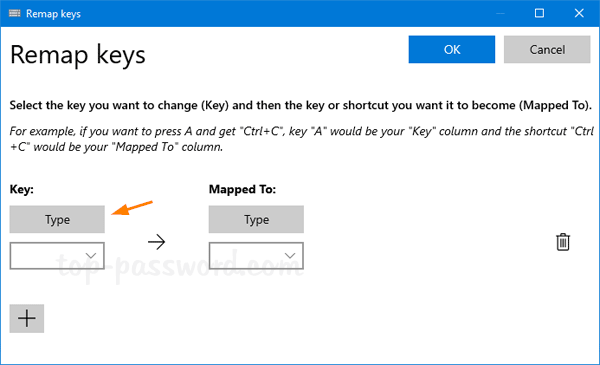
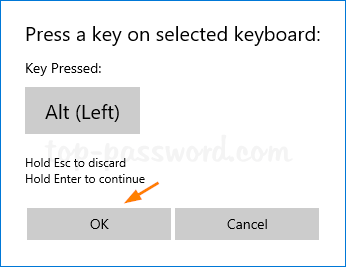
- Press a key you want to use for calling up the right-click context menu, and click OK. I recommend you use a rarely used key (the CTRL or ALT key on the right side of the keyboard) so it doesn’t conflict with any keyboard shortcut.
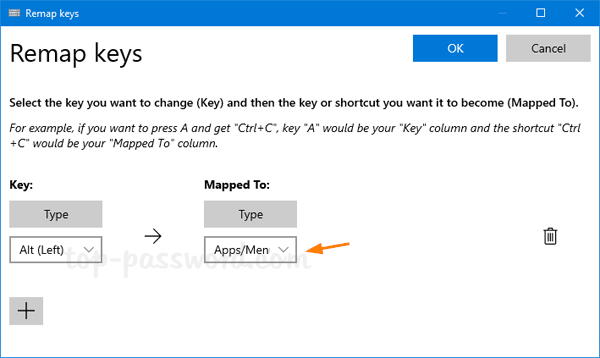
- Under the “Mapped To:” column, click the drop-down list to select “Apps/Menu“. When it’s done, click OK at the top right corner.
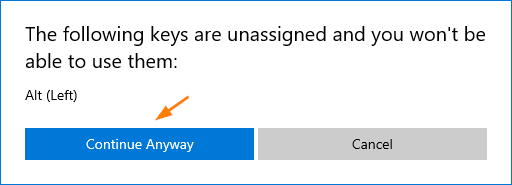
- Click on Continue Anyway.
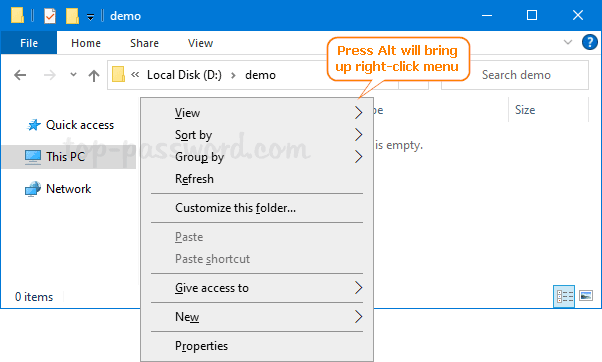
- Now, go to the Desktop or File Explorer, press your mapped Menu key and it will open up the right-click context menu quickly.
As long as PowerToys is running in the system tray, the key mapping will work all the time. If you want to undo the changes, just launch PowerToys and delete the key mapping.