ClearType is a font technology that makes the text on your screen almost as sharp and clear as text that’s printed on paper. ClearType is designed for LCD screens, so if you’re still using an old CRT monitor you will likely get best results from turning ClearType off. In this tutorial we’ll show you 3 ways to turn on or off ClearType Text in Windows 10.
Method 1: Turn On / Off ClearType Using Search
- Click the Cortana search box on the taskbar, type cleartype.
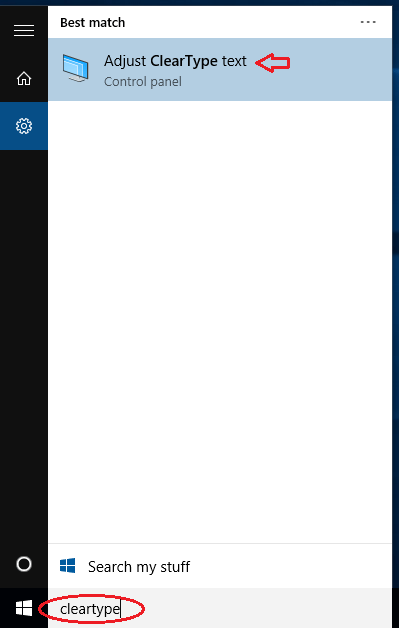
- Click Adjust ClearType text from the search results.
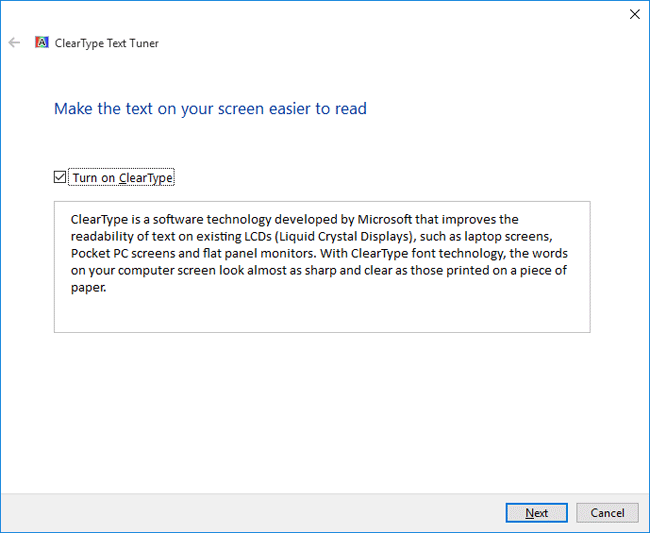
- The ClearType Text Tuner should open. Select the “Turn on ClearType” check box to enable ClearType, or deselect it if you want to turn off ClearType. Click Next.
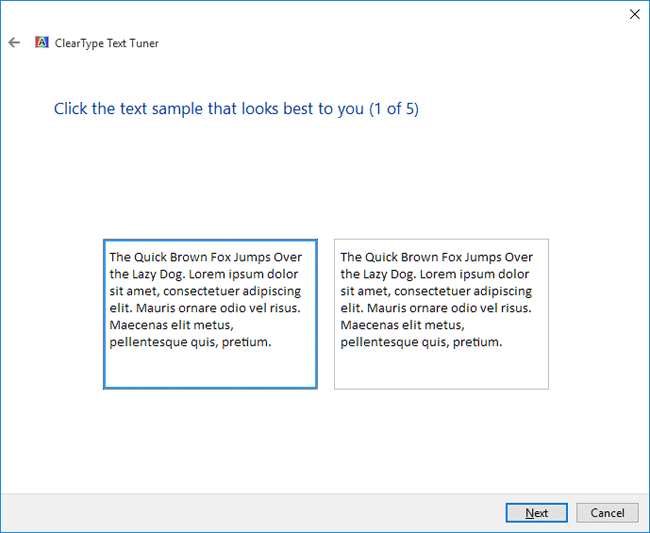
- Select the text that looks better to you and click Next, The ClearType Text Tuner will ask you to repeat this step four times with different blocks of text.
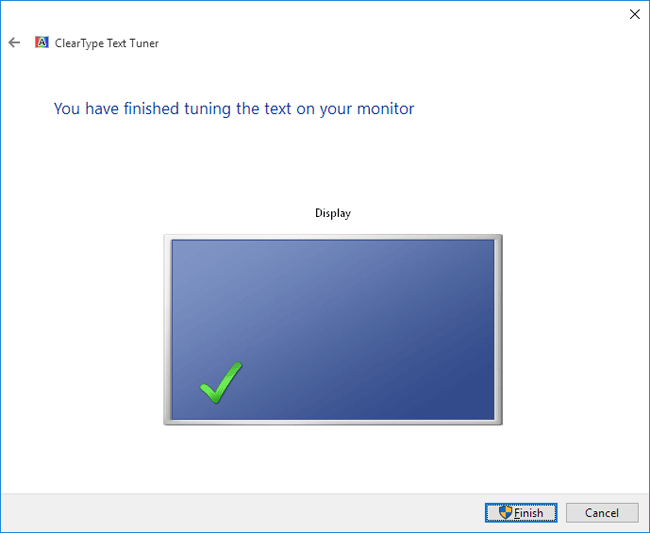
- On the appearance of last window click Finish after completing the tuning of the text for your monitor.
Method 2: Turn On / Off ClearType from Settings Charm
- Click the Start button and select Settings from the Start Menu.
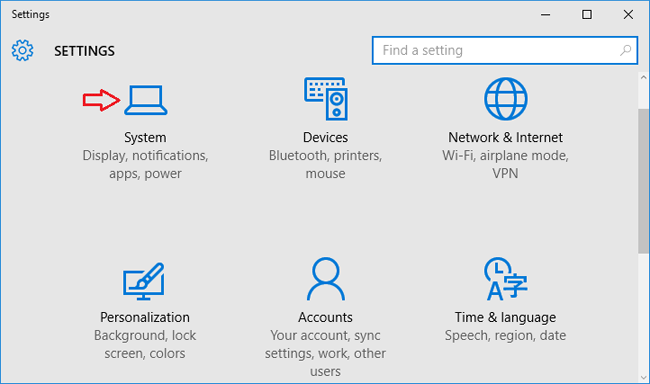
- When the Settings app opens, click System.
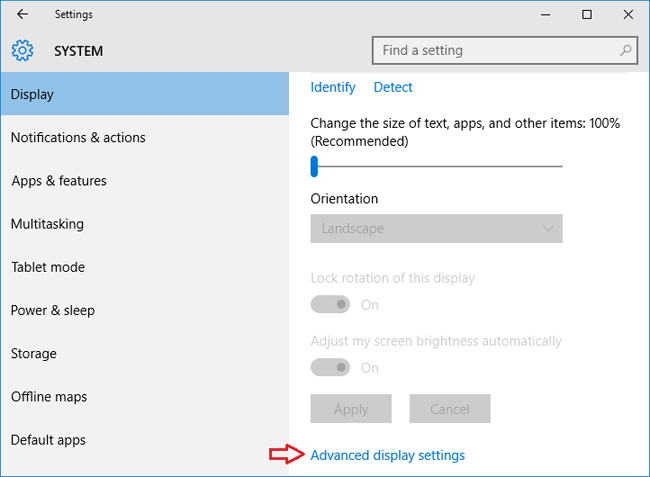
- From the Display settings, select Advanced display settings.
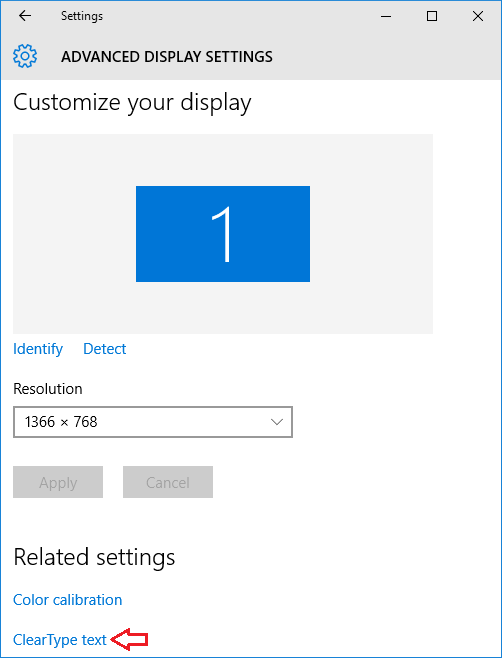
- Choose ClearType text below Related Settings. The ClearType Text Tuner window will appear. It lets you to turn on / off ClearType, and fine tune how the text on your computer looks.
Method 3: Turn On / Off ClearType from Control Panel
- To get started, you need to access the Control Panel. In Windows 10, just press the Windows key + X to open the WinX menu and click Control Panel.
- When you see the Control Panel, set the View by option to Large icons. Click on Display.

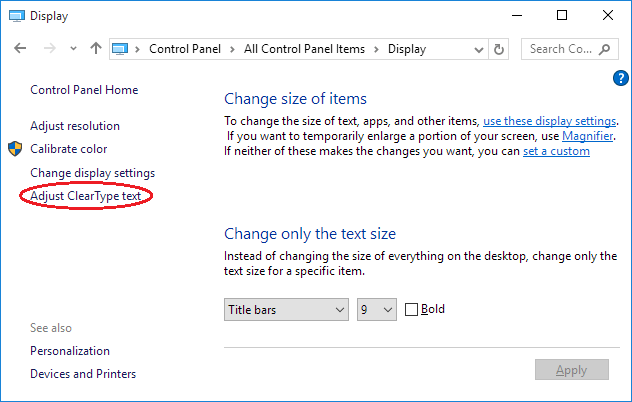
- On the right pane of the Display window click on Adjust ClearType Text link.
- A ClearType Text Tuner window will appear on your screen. Check or uncheck the checkbox Turn on ClearType and click Next button to begin tuning the text on your monitor.