When you try to make some system changes on your computer, you may get the following or similar error message basically stating that your operation is being blocked by group policy.
“The command prompt has been disabled by your administrator”
“Some settings are managed by your organization”
“This program is blocked by group policy. For more information, contact your system administrator.”
Sometimes it can be really difficult to figure out which group policy prevents you from making system changes, since most group policies available in Local Group Policy Editor are not applied by default. In this tutorial we’ll show you 2 quick ways to view local group policies applied to your user account in Windows 10.
Method 1: View Applied Group Policies Using the Resultant Set of Policy tool
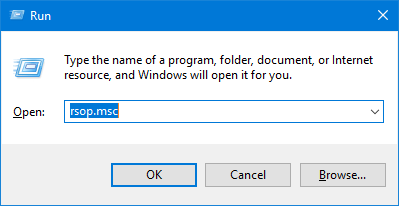
- Press the Windows key + R to open the Run box. Type rsop.msc and press Enter.
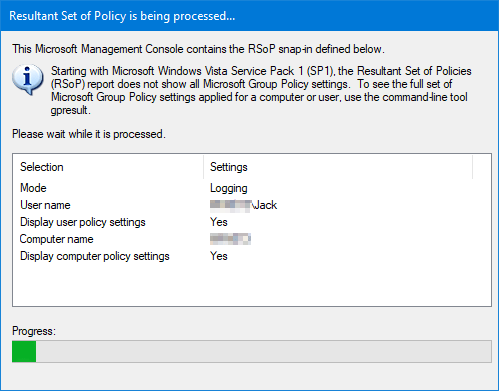
- The Resultant Set of Policy tool will start scanning your system for applied group policies.
- After scanning, the tool will show you a management console that lists out all group policies applied to your currently logged-on account.
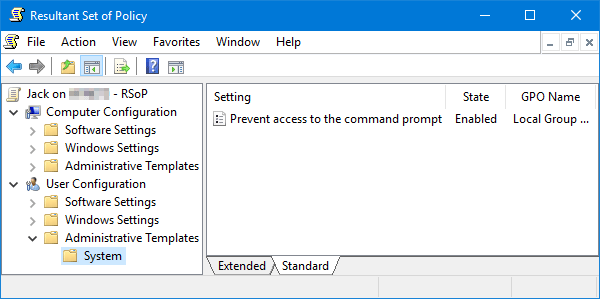
Note: The Resultant Set of Policy tool allows you to see what policies are in effect, and you’re unable to change any policy settings from there.
Method 2: View Applied Group Policies Using Command Prompt or PowerShell
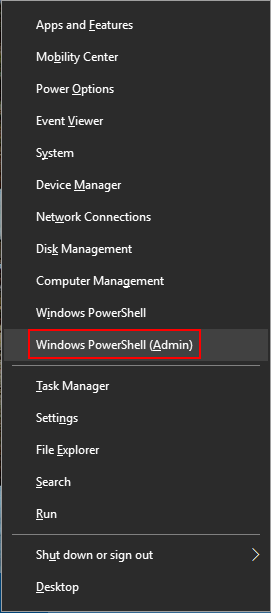
- Press the WIN + X key combination to open the WinX menu, and then choose “Command Prompt (Admin)” or “Windows PowerShell (Admin)“.
- To view all the policies applied to a specific account on your computer, run the following command and press Enter.
gpresult /user your_account_name /h c:\gpo.html /f
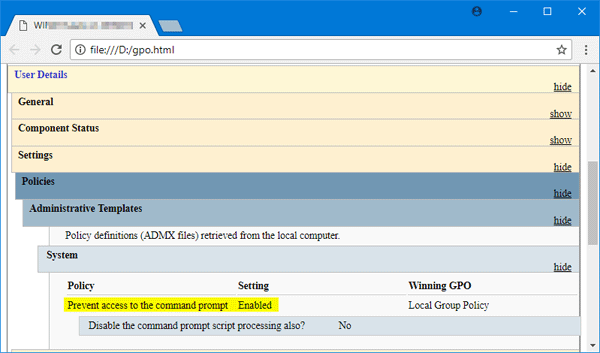
- It will generate a report of the applied group policy settings and saves it in HTML format as a file named gpo.html. Open the HTML file using your web browser and you can view applied policies under both Computer Configuration (Computer Details) and User Configuration (User Details).
That’s it!